
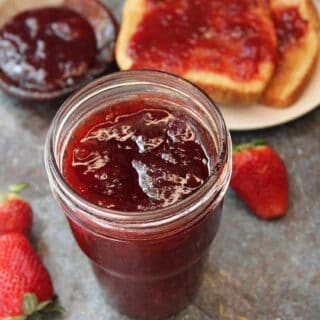
Knowing how to make and can strawberry jam is a rewarding skill that brings the taste of summer into your home all year long. Learn the water bath canning method and grab a simple three-ingredient easy strawberry jam recipe without pectin.

Table of Contents
Water Bath Canning Basics
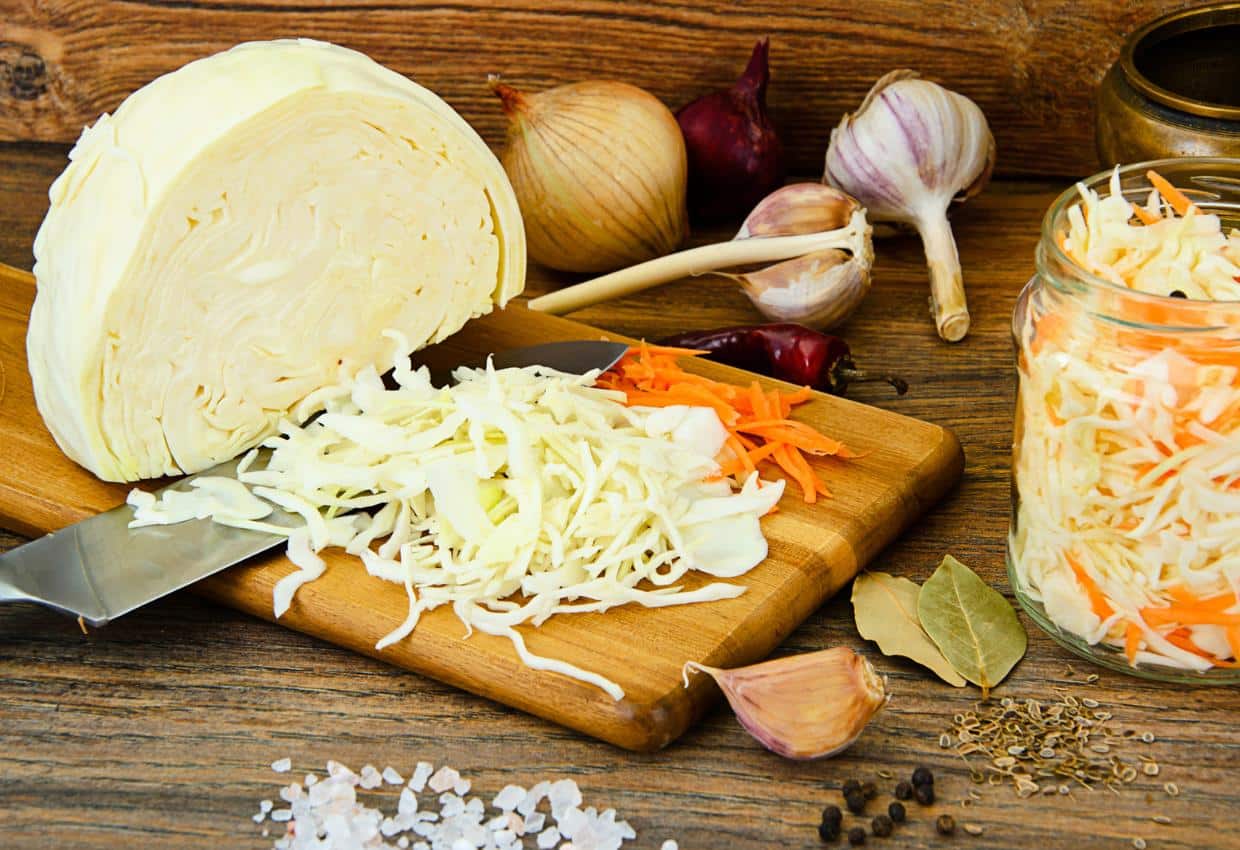
Water bath canning is a simple and effective way of preserving foods like jams, jellies, pickles, and salsas for long-term storage.
Canning is a great way to preserve your garden harvest and skip the time and cost of grocery shopping. It's especially good for building your prepper pantry when you have an abundance of strawberries and other fruits and vegetables.
I remember my grandmother's homemade preserves, pickles, jams and jellies. However, it wasn't until I was in my forties that I started canning. When we lived off the grid in the far north, preserving food helped me feel more prepared through long winters and pricey grocery runs.
Strawberry jam was one of those simple canning projects that made the pantry feel a little fuller, and the kitchen feel a little warmer.
Now, I didn't grow up canning everything myself, so I understand how intimidating that first batch can feel. Start with clean mason jars, good berries, and a safe water bath method, and you'll build confidence one jar at a time.
What is Water Bath Canning?
Water bath canning involves immersing filled jars in boiling water to kill harmful bacteria or microorganisms in the food.
The heat in a water bath canner also helps create an airtight seal between the jar lid and rim to prevent spoilage during storage.
Why we Follow the Safe Water Bath Canning Method
Safety comes first when you learn how to make and can strawberry jam, no matter which method you choose.
Safe water bath canning ensures your preserved foods are free from harmful bacteria. These bacteria include Clostridium botulinum, which causes botulism - a potentially fatal form of food poisoning (source).
By following the recommended guidelines of organizations like the National Center for Home Food Preservation (NCHFP), you'll ensure that your canned goods remain safe and delicious throughout their shelf life. UGA Extension's water bath canning guide explains that boiling water canning works well for high-acid foods like fruits, jams, jellies, and pickles when you follow tested processing steps.
Equipment for Water Bath Canning

To get started with water bath canning, gather these essential tools.
- A large pot or dedicated canner with a rack deep enough to cover the jars with at least 1-2 inches of water
- Glass canning jars, such as Mason or Ball jars, in various sizes (half-pint, pint, and quart)
- Lids and bands that fit your chosen jar size. Note: Lids should be new for each batch to ensure a proper seal.
- A jar lifter is a specialized tool designed to lift hot jars out of boiling water safely
- A wide-mouth funnel to help pour the jam into the jars without spilling
In addition to these basic tools, having a few special tools like clean towels for wiping rims and spills, a timer for tracking processing times, and labels or markers for labeling your finished products is also helpful. SDSU Extension also reminds home canners to follow research-tested canning recipes and choose water bath or pressure canning based on the food's acidity level.
The Gist:
Learn the basics of water bath canning to preserve homemade strawberry jam safely. Essential tools include a large pot or dedicated canner, glass canning jars, lids and bands, jar lifter, funnel, clean towels, timer and labels/markers for labeling finished products.
To learn more about water bath canning methods, check out Fresh Preserving's Guide To Water Bath Canning. And for tips on how to prepare fresh strawberries for canning, visit Simply Canning's How-To Page On Strawberries.
Preparing Fresh Strawberries for Canning

Before diving into the canning process, prepare your fresh strawberries properly. Luckily, it's pretty easy.
This includes selecting and cleaning them, hulling and slicing them, and preparing the syrup for canning. Follow these simple steps to ensure your strawberry jam is perfect every time.
How to Select and Clean Fresh Strawberries
When selecting strawberries, choose those with a vibrant hue and caps intact for making the best jam. And when choosing strawberries at a local farm stand, farmers market, or u-pick farms, look for bright red berries with green caps still attached.
- Rinse the strawberries gently under cool running water to remove dirt or debris.
- Place the cleaned berries on paper towels or clean kitchen towels to air dry completely before moving on to the hulling and slicing.
How to Hull and Slice the Strawberries
Hulling refers to removing the green leafy cap (calyx) and some of its white core from each berry. Try to leave as much fruit intact as possible.
Use a small paring knife by inserting it near one edge of the calyx at an angle towards its center. Next, twist around until all sides are cut loose. Then pull off the calyx together with the core using your fingers.
An alternative method is using a specialized tool called a "strawberry huller." You might find these online at a homesteading retailer like Pleasant Hill Grain (affiliate link.)
Once the strawberries are hulled, slice them into quarters or even smaller. Smaller pieces will cook down more quickly and create a smoother jam.
Your fresh strawberries are now ready for making delicious homemade jam.
Once the fresh strawberries have been properly prepared for canning, you are ready to move on to making and canning strawberry jam without pectin. This process is a bit more involved than preparing the fruit but yields delicious results that will last throughout the year.
Making and Canning Strawberry Jam Without Pectin
Making strawberry jam without pectin may take some practice. Yet once you find a good old-fashioned homemade strawberry jam recipe, you'll never return to store-bought.
Plus, storing homemade strawberry preserves and jams away means always having something delicious to spread on toast or biscuits when unexpected guests arrive.

Benefits of Making Strawberry Jam Without Pectin
Using a strawberry jam without pectin recipe has several advantages:
- Natural Ingredients: You use only natural ingredients in your homemade preserves by skipping commercial pectins like Certo or sure jell.
- Easier to Find Ingredients: Fresh strawberries and sugar are more readily available than store-bought pectins.
- Better Texture: Many people prefer the softer set that comes from making jams without added pectins.
Easy Recipe for Strawberry Jam Without Pectin

To make this delightful no-pectin strawberry jam, all you need are three simple ingredients.
Ingredients
- fresh 8 cups strawberries (Fresh)
- sugar (5 cups)
- whole fresh lemon (1)
Water Bath Canning Supplies
You will also need the following:
- Clean, sterilized mason jars, lids, and rings
- Large pot for water bath
- Canning funnel
- Knife
- Jar lifter
Look for these online or at your local hardware or kitchen supply store.
Directions


Start with clean, sterilized jars, rings, and lids. To do this, you can submerge them in boiling water for 5 minutes and remove carefully, setting them on a clean towel to dry.
Wash strawberries and discard rotten ones. (Keep in mind that this recipe is great for overripe berries.
Trim as little as possible off the top of your strawberries to remove the green leaves, leaving as much of the white part as possible, this contains a natural pectin which will help your strawberry jam set up without additional pectin.
Slice strawberries in half.
Place strawberries and sugar in a large, heavy bottom pan over medium-high heat.
Squeeze the juice of one whole lemon over the mixture.
Bring to a boil and stir frequently for 45 minutes to an hour. Strawberry jam's set point is at 220 ℉. Smash the berries a bit while stirring frequently to help break them down.
If you like a smoother or semi-smooth jam, you can use an immersion blender to puree the mixture until it is smooth completely.
Water Bathing
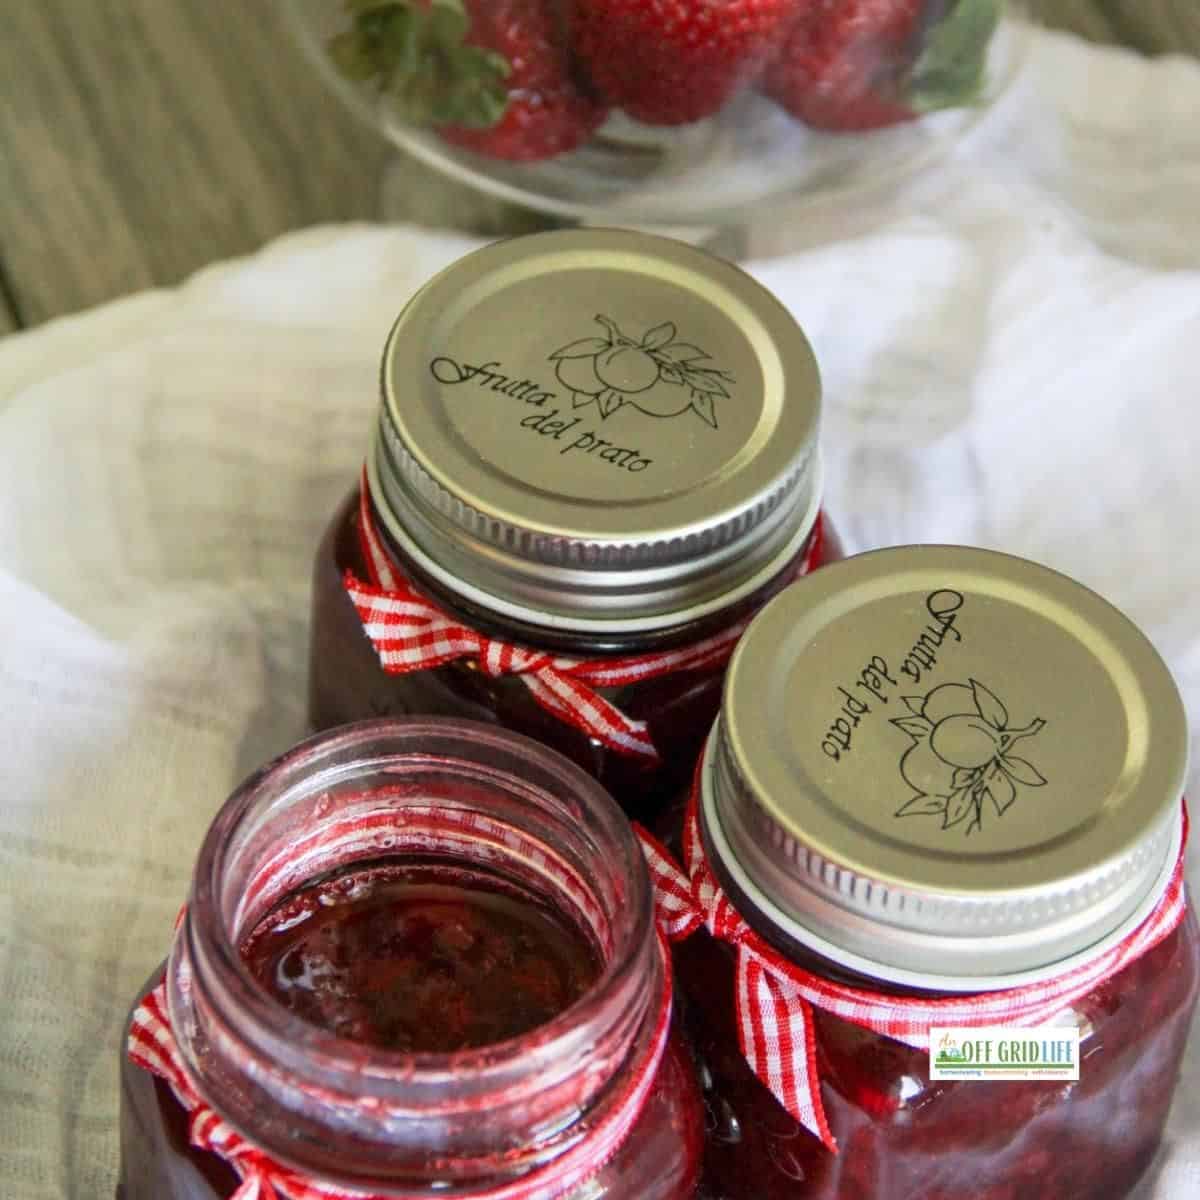
When the jam is set (at the gel stage), carefully ladle it into clean, prepared jars using a ladle and a jar funnel, and leave ¼" of headspace.
Clean the rim of the jar well with a clean rag or paper towel.
Top with lid and ring.
Bring the water bath to a roiling boil.
Place jars into a water bath, be sure they are covered by at least 1" of water. Allow to process for 10 minutes.
Remove carefully and let jars sit for 24 hours, be sure each has adequately sealed, to do this push on the center button; it should not move.
Enjoy your homemade strawberry jam on toast, biscuits, or as a topping for ice cream. Happy canning.
How to Make and Can Strawberry Jam FAQs

If you're new to jam making, canning and preserving, here's what you should know before you start.
Does Strawberry Jam Need to be Pressure Canned?
No, strawberry jam does not require a pressure canner. Instead, it is preserved using the water bath canning method. This process effectively kills harmful bacteria and seals the jars to prevent spoilage. High-acid foods like strawberries are well-suited for water bath canning.
What Method is Used to Preserve Strawberry Jam?
The most common method for preserving strawberry jam is through water bath canning. This involves submerging filled jars in boiling water for a specified amount of time, which destroys any potential pathogens and creates an airtight seal on the jar lids. It's important to follow proper water bath canning procedures for safe preservation.
Can Strawberry Jam be Water Bath Canned?
Yes, strawberry jam is ideal for water bath canning due to its high acidity and sugar content, which inhibit bacterial growth. Water bath canning provides sufficient heat treatment to kill microorganisms while also sealing the jars properly.
Learn how to make and can strawberry jam at home
Making and preserving strawberry jam is a fantastic way to become more independent. You and your family will enjoy the fresh strawberry flavor of homemade jam year-round.
Remember to follow safe water bath canning practices, prepare fresh strawberries properly, and use a simple recipe without pectin; you can easily create your jars of sweet strawberry goodness.
If you want to learn more about canning and preserving, homesteading, off-grid living, or prepping for emergencies, check out anoffgridlife.com for helpful tips and resources.
Recipe
Strawberry Jam Recipe without Pectin
Ingredients
- 8 cups sliced fresh strawberries
- 5 cups sugar
- 1 whole lemon juiced
Instructions
- Start with clean, sterilized jars, rings, and lids. To do this, you can submerge them in boiling water for 5 minutes and remove carefully, setting them on a clean towel to dry.
- Wash strawberries and discard rotten ones.
- Trim as little as possible off the top of your strawberries to remove the green leaves, leaving as much of the white part as possible, and this contains natural pectin, which will help your strawberry jam set up without additional pectin.
- Slice strawberries in half.
- Place strawberries and sugar in a large, heavy-bottom pan over medium-high heat.
- Squeeze the juice of one whole lemon over the mixture.
- Bring to a boil and stir frequently for 45 minutes to an hour. Strawberry jam's set point is 220 ℉. Smash the berries a bit while stirring frequently to help break them down.
- If you like a smoother or semi-smooth jam, use an immersion blender to puree the mixture until it is completely smooth.
- When the jam is set (at the gel stage), carefully ladle it into clean, prepared jars using a ladle and a jar funnel, leaving ¼" of headspace.
- Clean the rim of the jar well with a clean rag or paper towel.
- Top with lid and ring.
- Bring the water bath to a roiling boil.
- Place jars into a water bath, be sure they are covered by at least 1" of water. Allow to process for 10 minutes.
- Remove carefully and let the jars sit for 24 hours, be sure each has appropriately sealed, to do this push on the center button. It should not move.
Notes
Nutrition
Like this post? Save it, share it, and read it!

Strawberry season is finally here and I'm so glad this is the first recipe I made! I used it on scones and French toast over the weekend - just the right amount of sweetness.
Followed the water bath canning method for the first time, and it was surprisingly easy! Feeling proud of myself for preserving homemade jam.
This was the first strawberry jam recipe that didn't have pectin in it. I loved that and this recipe was delicious! I will be making this with all of my spring berries this season.
Love the strawberry jam and it's very easy to to make! Also my first time to try canning and very thankful for your easy instructions, now we have strawberry jams available for the coming months.
This recipe has sparked a new interest for me in making homemade strawberry jam. The texture turned out just right, not too thick or overly sticky like some store-bought options. And I've been enjoying it on toast in the mornings and it's been a delightful addition to my breakfast routine. Yum!
We are almost at strawberry season. I now know exactly what to do with extra strawberries. Yum
I love strawberry jam, have made lots of it and thanks for the tips for canning. I think I have enough jam for the next few months!
My SIL brought over so many strawberries from their farm!! We have been eating them fresh for days, so I decided to make jam. I have never canned it before and your instructions were so easy!
Loved it! I made the half batch and it turned out incredible! Love good homemade jam over store bought. This turned out great thank you for a delicious recipe!
I love that there are just 3 ingredients. Super easy recipe for when strawberries are cheap and plentiful. Saving this!