
Do you have limited (or no) freezer space? If you're looking for alternative ways to store your meats, fruits, or favorite fall vegetables, canning, preserving, and dehydrating food are great techniques.

Table of Contents
These types of preservation have been used for hundreds of years and are still widely used today to safely store produce from your kitchen garden over those cold winter months. These methods are also useful for stocking the best prepper pantries.
These tips will help introduce you to the world of canning, preserving, and dehydrating food off the grid.
Hot Water Bath Canning
Hot water bath canning is the simplest canning technique, and you'll find many easy recipes to get started on canning.
You need a stockpot, canning rack, canning jars (I like Ball mason jars), lids and bands. Don't borrow or reuse old bands. You need to use new ones every time to ensure a proper seal.
There are many useful canning, preserving, and dehydrating food how-to and recipe books that will teach you the techniques, times, and measurements needed for the different products you want to preserve. My mom's favorite is the Bernardin/Ball Complete Book of Home Preserving.
And remember, if you're using a wood cookstove to boil the water for this method, the pot needs to reach boiling temperature. So keep that fire hot.
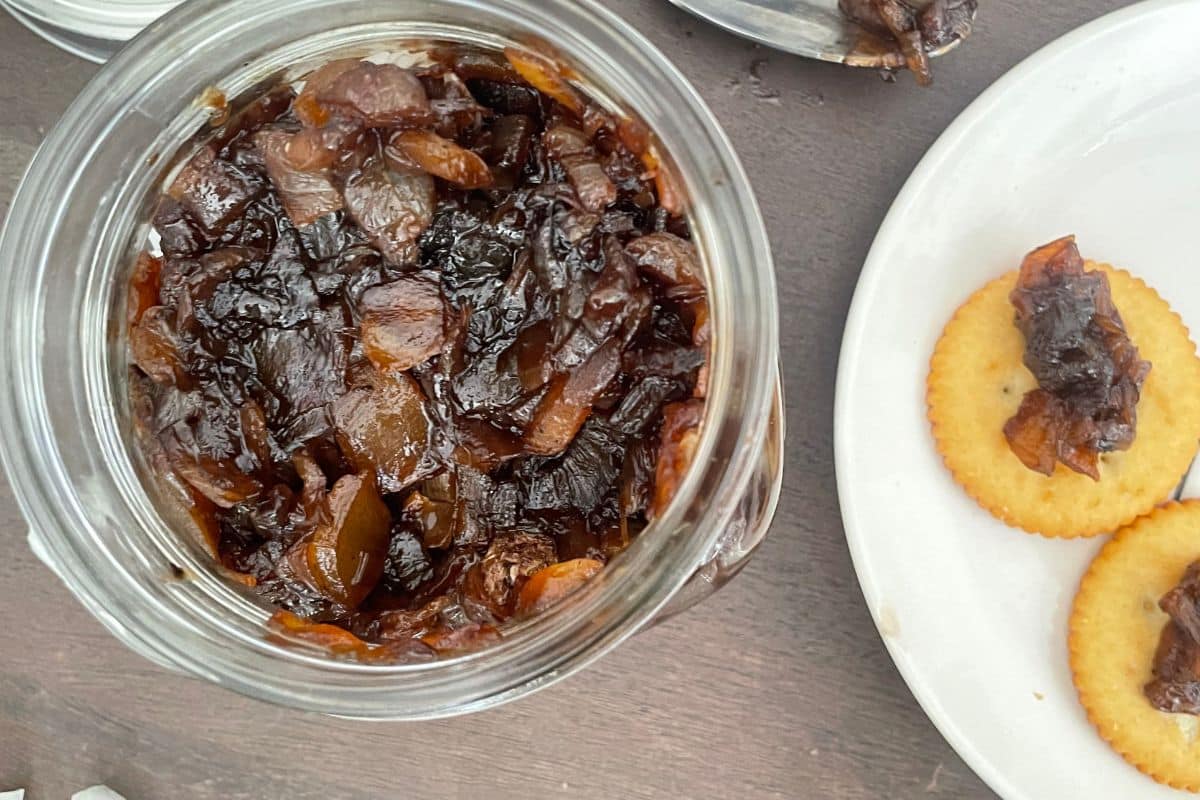
The hot water bath canning technique is perfect for a beginner to get started with an easy project, like learning how to make applesauce or preserving some tomatoes whole or as a sauce.
After your initial investment in the water bath canner and rack, this method will become one of your favorite cheap and effective ways to preserve fruits and veggies yearly.
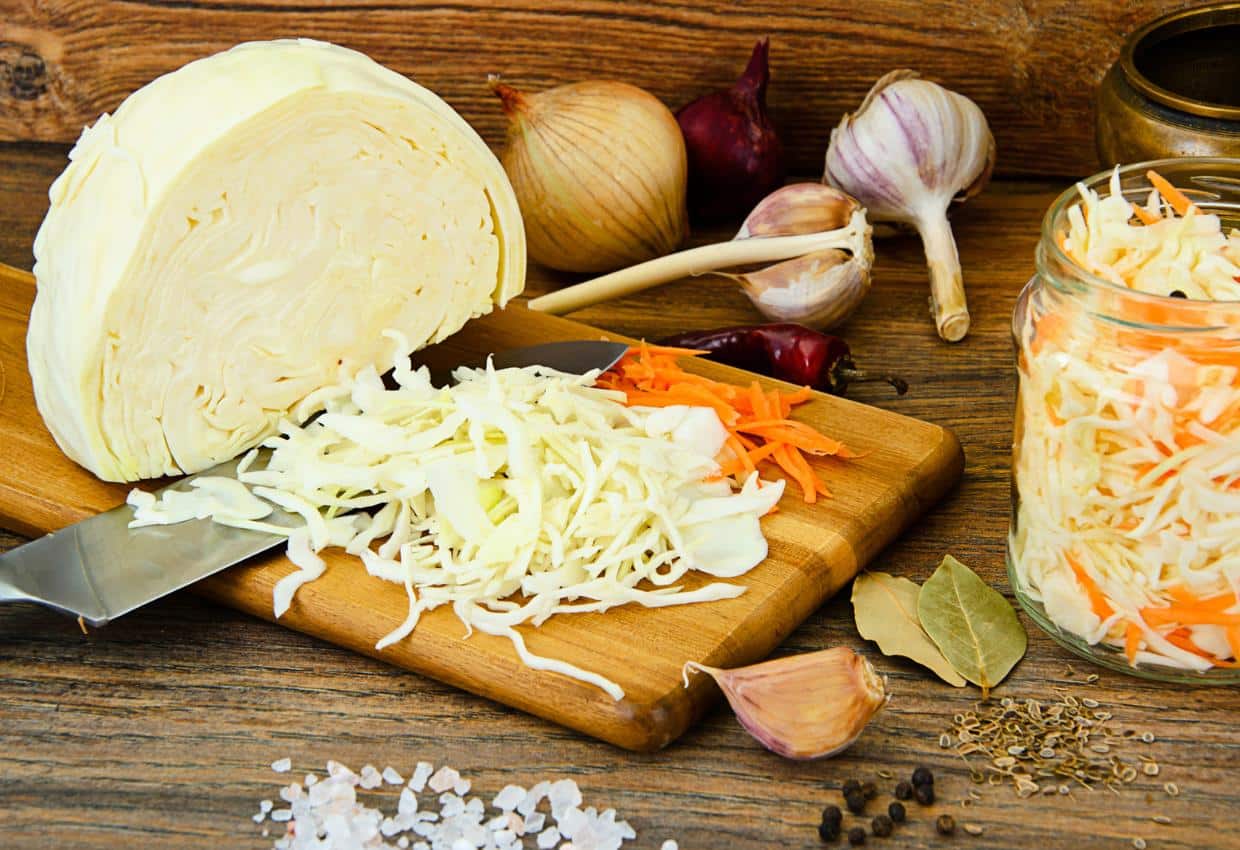
Tip: Not quite ready for canning? Try making pickled vegetables with a great refrigerator pickle recipe!
Pressure Canning
To preserve low-acid foods, such as vegetables or meats, try pressure canning instead of hot water.
The pressure canner's temperature is as high as 240 degrees Fahrenheit. This kills the potential risk of dangerous bacteria like botulism that can develop in low-acid foods and meats.
However, these bacteria cannot develop in acid. That's why the standard hot water bath canning method is acceptable for highly acidic fruits but not low-acidity foods.
So, if you were to try canning fresh fish, for example, you'd use a pressure canner.
Most pressure canners require extremely consistent heat to build pressure and maintain a high temperature throughout the process.
Because of this, the heat source needs to be constantly adjusted. And that is easier to do with a propane or gas burner than a wood stove.
Tip: If you're brand new to canning, preserving, and dehydrating, consider getting a book. This big list of 21 canning and preserving books is a great place to start.
Dehydrating Food to Preserve It
Dehydrating not only preserves food but also shrinks it down. This helps when you don't have a ton of room, for example, when you're trying to store your harvest without a root cellar.
Dehydrating your produce can be done in a few different ways. The most straightforward method uses a dehydrator, a small electric kitchen appliance.
There are a variety of different options available, with different sizes, capabilities, and electrical requirements.
Dehydrating slowly removes moisture from the food at a relatively low temperature over a long period. Because of this, dehydrators have a relatively minimal electrical draw. Most solar systems can run dehydrators easily.
Over the years, we've enjoyed dried bananas, berries, and even dried orange slices.
Refer to this handy post and chart from Food Hydrator Time for a breakdown of the estimated times for dehydrating various fruits and vegetables.
Dehydrating food requires patience. So whatever you do, don't make the mistake of increasing the temperature to try and make your food dry out faster.
By doing so, you'll end up creating hardened skin around the outside of the produce. This traps moisture inside and drastically decreases its shelf life.
Related: Smoking and Dehydrating Game Meat: Tips for Beginners
No matter what food you're dehydrating, always follow a guidebook or recipe to ensure you have the dehydrator set to the right temperature, humidity, and time.
Generally, you want to dehydrate your foods by at least 95%. It's also important to know the foods you shouldn't dehydrate.
Solar Dehydrators
If you can't use an electrical dehydrator, there's always the original solar method.
Collapsible solar dehydrators are available through Amazon or most outdoor stores. They have multiple racks, a hook to hang outdoors, and protective netting to keep critters and insects away.
The netting is designed to allow maximum airflow across your produce. So be sure to hang it in an area with direct sunlight and a slight breeze.
The key to drying out your food successfully is to slice your meat or produce into thin, uniform strips before placing them on the trays.
Herbs, spices, and greens are already thin enough. Just lay them out without slicing. Remember to leave a bit of space between pieces on the trays so the food doesn't overlap and trap moisture.
Canning, Preserving and Dehydrating Food Takes Practice and Patience
There are so many options for preserving your harvest every autumn. Many of these methods have been around for centuries. They're easy to learn and start right away.
Investing in canning or dehydrating recipe books will give you lots of ideas on different combinations and techniques. Or grab a great free resource like this USDA Complete Guide to Home Canning, which is available as a downloadable PDF from the National Center for Home Food Preservation.
Also, make sure you buy or organize all your equipment and supplies needed beforehand. That way, you're ready to go once the harvest comes in. Happy preserving!
Like this post? Save it for later!


Excellent! You are so welcome. 🙂
Just canned my first batch of tomatoes yesterday! Feeling so proud and accomplished. Definitely going to try the applesauce recipe next - thanks for the inspiration!
“ Don’t borrow or reuse old bands. You need to use new ones every time to ensure a proper seal.”
I thought it was the lids you couldn’t reuse, not the bands.
Your beautiful shelves are so inspiring!
This is a great post with really good information. Thanks so much for sharing with us at Full Plate Thursday and come back soon!
Miz Helen
I took up canning after I retired as a hobby! I like water bath canning for tomatoes and pickles and jams, but I also enjoy pressure canning! Mostly green beans. I also pressure can my homemade pasta sauce! It does get a little pricy until you get all of you equipment! From then on, it’s easy sailing!
This information is GOLD! thank you for sharing with us.
Hi Nicole! Thanks for your comment. Based on info from the National Center for Food Preservation, home-dehydrated food has a shelf life of four months to one year, depending on the food. Learn more here:https://nchfp.uga.edu/how/dry/pack_store.html#:~:text=Dried%20foods%20should%20be%20stored,the%20shorter%20the%20storage%20time.
How do you know how long the shelf life is for each item you dehydrate? I have a dehydrator and it has a book that tells how long to dehydrate but not how long it will last on the shelves.
I love canning because I'm the type that tends to run downstairs at 4pm in a panic because I don't know what I'm making for supper that evening and canned goods are much easier to cook on the fly than frozen ones! I haven't really gotten into dehydrating yet, although I'd like to try it, especially for soups and stews.
I've done quite a bit of the hot water bath processing. And my mama did TONS of pressure cooker canning. I'm lazy and mostly freeze or eat fresh these days.
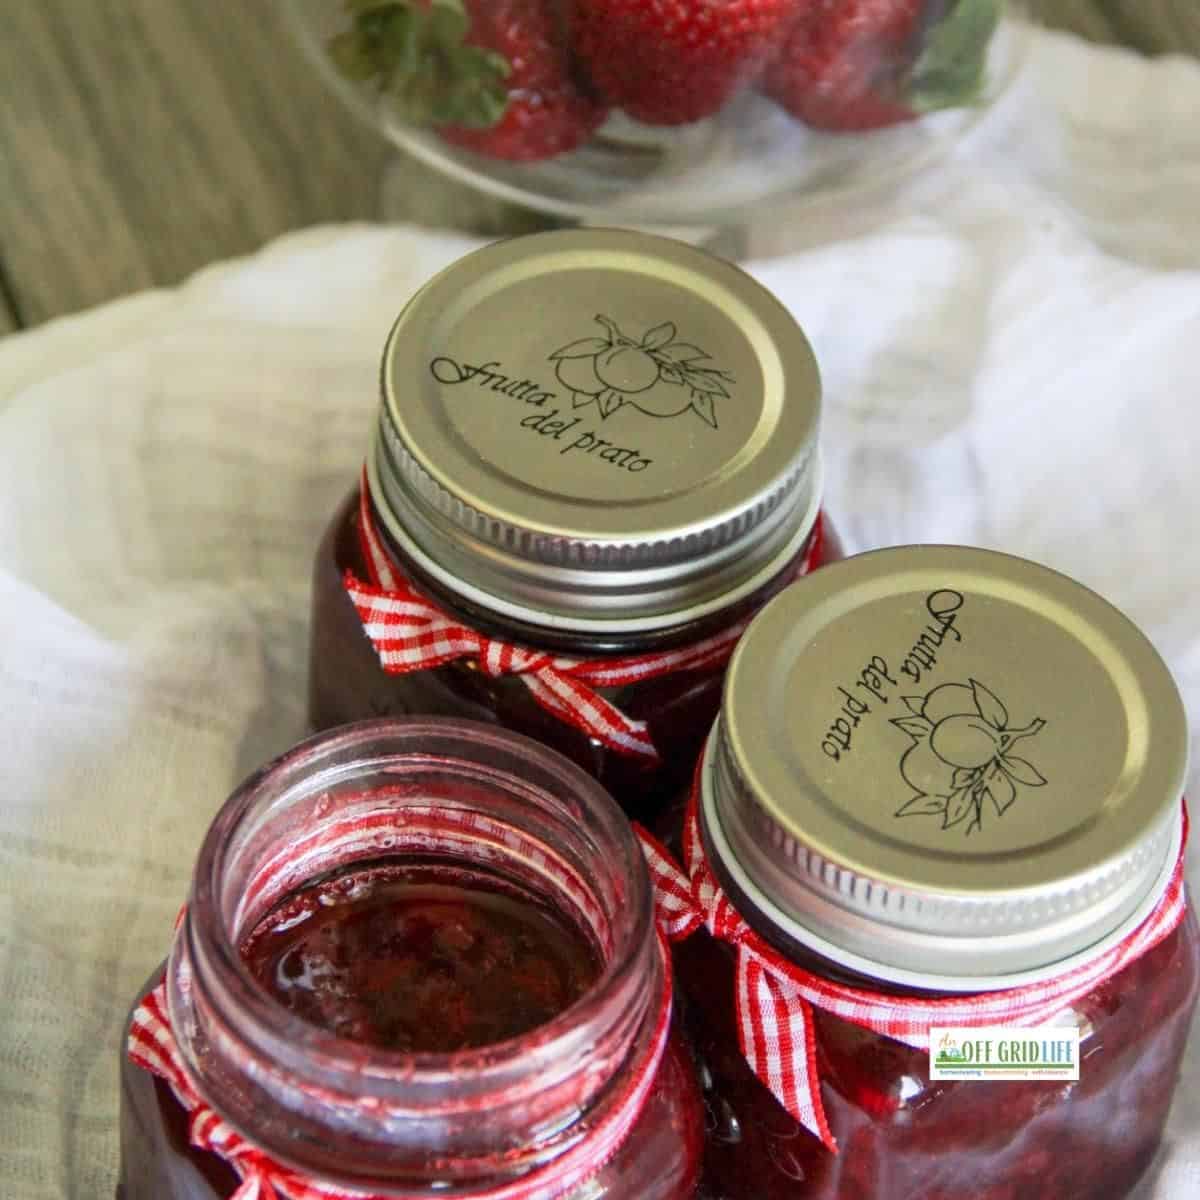
Love that first picture! So colorful.
🙂 gwingal
I gave up canning years ago.. Still do a lot of dehydrating thou. Lots of good information.