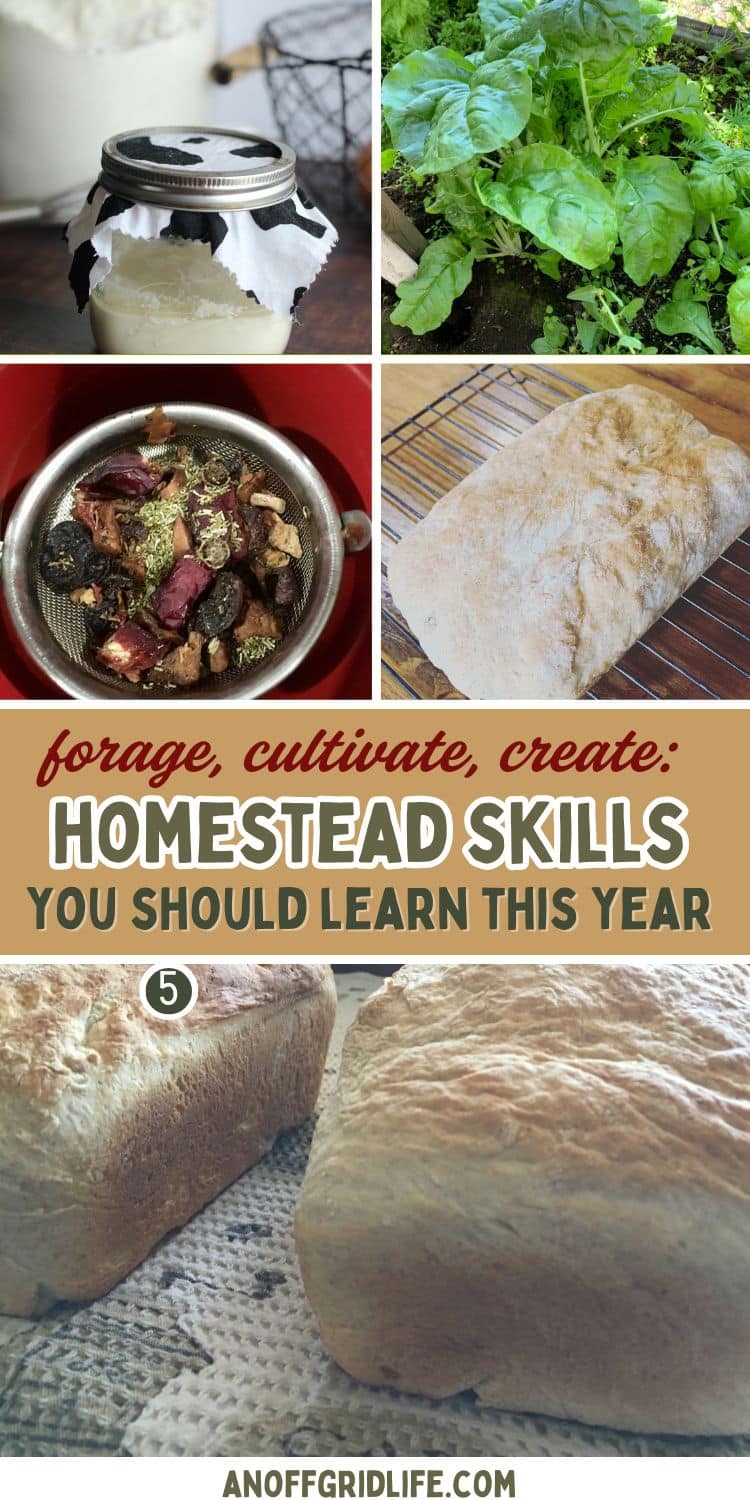
Hands-on hobbies and traditional homestead skills are enjoying a remarkable revival. With a growing interest in self-sufficiency and simpler living, beginners everywhere are trying their hands at sourdough baking, canning, gardening, and more. Here’s how these time-tested practices are returning to kitchens and backyards across North America—and how you can get started.
The Homestead Skills Revival
Whether it’s a longing to reconnect with the past or the drive to address modern-day concerns, the growing interest in homestead skills reflects a shift toward sustainability and self-reliance. Once dismissed as outdated, these practices now capture the imagination of people from a variety of backgrounds and areas.
Since I launched this site in 2017, I’ve been amazed at how many people have emailed me or commented on my posts, eager to learn how to become more self-sufficient. And not all of these people even want to live on a typical “homestead” with acres of land and cows, chickens, etc.
Instead, they’re eager to learn the skills I write about on this site right in their own apartment, townhouse, or suburban home. They want to learn old-fashioned vintage homestead skills.
I think the appeal lies in their simplicity and practicality. As sustainability and environmental awareness grow, these skills provide practical ways to reduce waste, lower food costs, and embrace eco-friendly habits. In a digital world, many also find solace in the hands-on nature of these hobbies, which offer a welcome contrast to screen-heavy lifestyles.
Gardening: Growing More Than Just Plants
Gardening is maybe the most accessible and rewarding homestead skill for beginners, and one skill that I’m constantly trying to improve. Whether you’re planting in a backyard, on a balcony, or in containers, growing food to feed your family offers independence and a deeper connection to nature.
"There's something about growing your own food that really resonates right now, especially for people living in cities," says Shruthi Baskaran-Makanju, founder of Urban Farmie. "As someone who's been a prolific urban gardener for over 10 years, I've seen how it helps people slow down, reconnect with nature and take control of what's on their plate — even if they only have a small balcony or a windowsill."
Baskaran-Makanju suggests beginner gardeners try easy plants like herbs or greens that don't need much space but still offer the opportunity to succeed at growing food. "It's less about perfection and more about enjoying the process," she says.
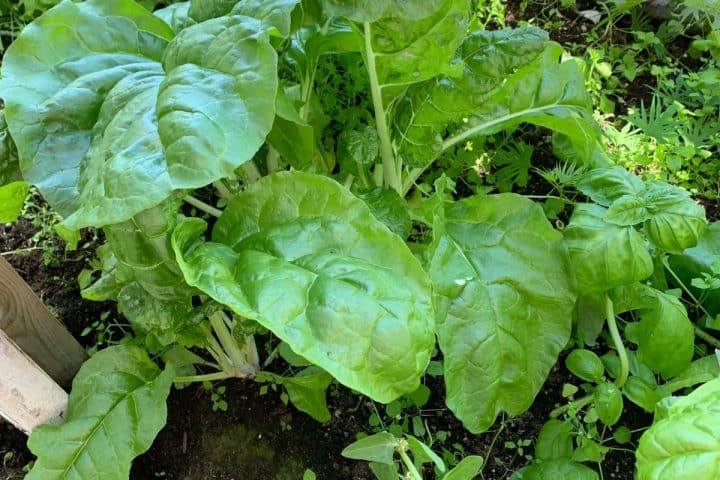
Why not start by planting the food your family will eat? Starting a kitchen garden doesn’t have to be complicated. Herbs like basil, parsley, and cilantro are excellent for beginners, as they thrive in small spaces and require minimal maintenance.
Leafy greens like spinach and lettuce also grow quickly, providing satisfying results for new gardeners. Heck, the kids and I grew our own potatoes indoors in the frigid Canadian winter.
And if you’re watching your pennies, you could always try growing vegetables from kitchen scraps.
The Art of Sourdough Breadmaking
The sourdough craze has inspired many to take up breadmaking as a homestead skill. In fact, ever since the pandemic, my sourdough posts have grown to become some of my most popular.
The timeless practice of baking with sourdough involves creating a natural yeast starter, which ferments and leavens bread. It’s a slow but rewarding process that combines science and art.
This homestead skill involves creating a natural yeast starter, which ferments and leavens bread without the need for store-bought yeast. With just flour, water, and time, you can craft delicious bread that is both wholesome and flavorful.
Getting Started With a Sourdough Starter
The foundation of sourdough baking is the starter—a living culture of wild yeast and beneficial bacteria. Making your own starter is simpler than it sounds.
It requires just two ingredients: flour and water. Over a few days, the mixture ferments, creating a bubbly and tangy base for your bread.
For a step-by-step guide, check out How to Make a Sourdough Starter Without Yeast. This method is perfect for those looking to get started with minimal ingredients and equipment.
Tips for Sourdough Success
Use whole wheat flour for your starter initially, as it encourages faster fermentation due to its higher nutrient content.
- Feed your starter daily with equal parts flour and water to keep it active and healthy.
- Keep the starter in a warm spot in your kitchen, ideally around 70–75°F, for the best results.
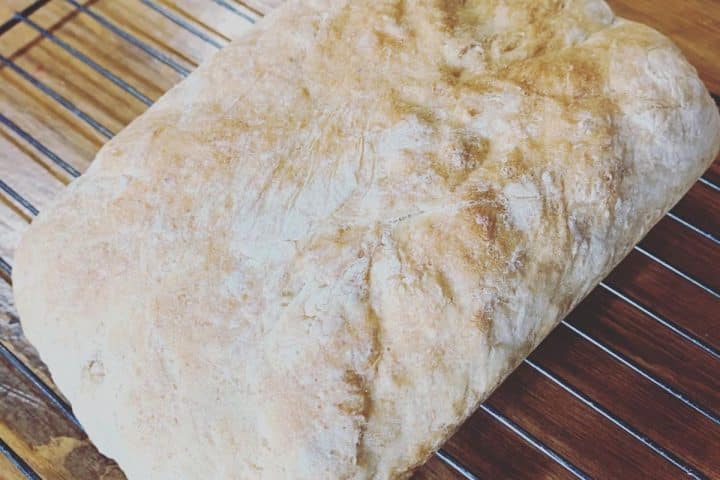
Baking Your First Sourdough Loaf
You can bake your first loaf once your starter is active and bubbly. Sourdough bread baking involves a few steps, including mixing, folding, proofing, and baking, but the process is forgiving and allows beginners to learn through practice.
Try this beginner-friendly sourdough bread recipe.
The recipe breaks down the process into manageable steps, making it ideal for those new to baking.
Beginner Tips
- Don’t worry about perfection; sourdough is an art that improves with time.
- Use a Dutch oven for baking if you have one, as it creates steam that helps develop a beautiful crust.
- Allow plenty of time for proofing—sourdough bread rises more slowly than bread made with commercial yeast.
What to Do With Sourdough Discard
As you maintain your sourdough starter, you’ll end up with discard—extra starter removed during feedings. Instead of throwing it away, sourdough discard can be used in a variety of recipes, adding a subtle tang to pancakes, waffles, muffins, crackers, and more.
For creative ways to use your discard, look for sourdough discard recipes. This not only helps reduce food waste but also adds versatility to your baking repertoire.
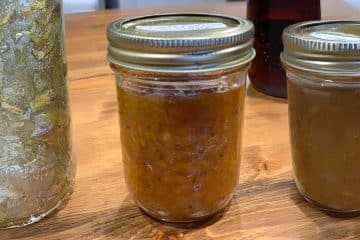
Canning and Preserving: Storing the Harvest
Canning and preserving are essential homestead skills. Learning how to can and preserve will help you extend the shelf life of seasonal produce, reduce food waste, and maintain a well-stocked pantry year-round.
By learning these techniques, you’ll boost your self-reliance, enjoy your garden bounty throughout the year and gain greater control over the ingredients in your food.
Understanding Water Bath vs. Pressure Canning
Canning involves processing food in sealed jars to destroy microorganisms and enzymes that cause spoilage. There are two primary methods:
- Water Bath Canning: Suitable for high-acid foods like fruits, jams, jellies, pickles, and salsas. The water bath canning method involves submerging jars in boiling water to achieve the necessary temperature for safe preservation. It's an excellent starting point for beginners because it is simple and requires minimal equipment.
- Pressure Canning: Required for low-acid foods such as vegetables, meats, poultry, and seafood. This method uses a specialized pressure canner to reach higher temperatures to safely preserve these foods. While more complex, it's essential for safely canning low-acid items.
Essential Canning Equipment for Beginners
Starting with the right equipment ensures safety and success in canning, preserving, and dehydrating food. Here's what you'll need.
- Canning Jars: Use mason jars specifically designed for canning, as they can withstand high temperatures and form airtight seals.
- Lids and Bands: Always use new lids to ensure a proper seal; bands can be reused if they're in good condition.
- Water Bath Canner: A large pot with a lid and a rack to keep jars off the bottom. Ensure it's deep enough to cover jars with at least an inch of water.
- Jar Lifter: Essential for safely removing hot jars from the canner.
- Funnel and Bubble Remover: A funnel helps fill jars without spilling, and a bubble remover ensures no air is trapped inside.
Getting Started with Water Bath Canning
For beginners, water bath canning is an accessible way to start preserving. Here's a basic process.
- Prepare Your Recipe: Choose a tested recipe suitable for water bath canning, such as jams or pickles.
- Sterilize Jars: Wash jars and lids in hot, soapy water. Keep jars warm until ready to use to prevent cracking when filled with hot food.
- Fill Jars: Use a funnel to fill jars with prepared food, leaving appropriate headspace as specified in your recipe.
- Remove Air Bubbles: Slide a non-metallic utensil around the inside of the jar to release trapped air.
- Wipe Rims and Seal: Clean jar rims with a damp cloth, place lids on jars, and screw bands fingertip-tight.
- Process Jars: Place jars in the canner, ensuring they're covered by at least an inch of water. Bring to a rolling boil and process for the time specified in your recipe.
- Cool and Store: After processing, remove jars and let them cool undisturbed for 12–24 hours. Check seals before storing; unsealed jars should be refrigerated and used promptly.
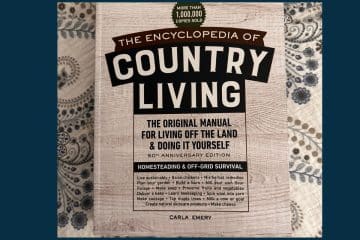
For detailed instructions, refer to the Ball Book of Canning.
Safety Tips for Successful Canning
Ensuring safety in canning is paramount. Keep these tips in mind.
- Use Tested Recipes: Always follow up-to-date, tested recipes from reliable sources to ensure safety and quality.
- Adjust for Altitude: Processing times and pressures can vary with altitude; consult guidelines to make necessary adjustments.
- Avoid Unsafe Methods: Techniques like open-kettle canning or oven canning are not recommended due to safety risks.
- Inspect Equipment: Regularly check jars for cracks and ensure lids and bands are in good condition to achieve proper seals.
For more tips, see How to Can Food: 50 Tips for Beginners.
Exploring Other Preservation Methods
Beyond canning, consider diversifying your preservation skills. Dehydrating and fermenting food are easy to learn.
Learning these techniques can further reduce food waste and increase your self-sufficiency. For an introduction, visit Canning, Preserving and Dehydrating Food.
Learning about fermenting, canning and preserving opens up a world of possibilities for saving money on produce, securing your family’s food supply, and planning for the long term. With practice and determination, you'll soon build a pantry full of homemade preserves to be proud of.
Soapmaking: A Sustainable Skill for the Home
Recently, we’ve been trying our hands at soapmaking. My two daughters, now aged 14 and 11, enjoy trying different herbs and flowers in the soaps.
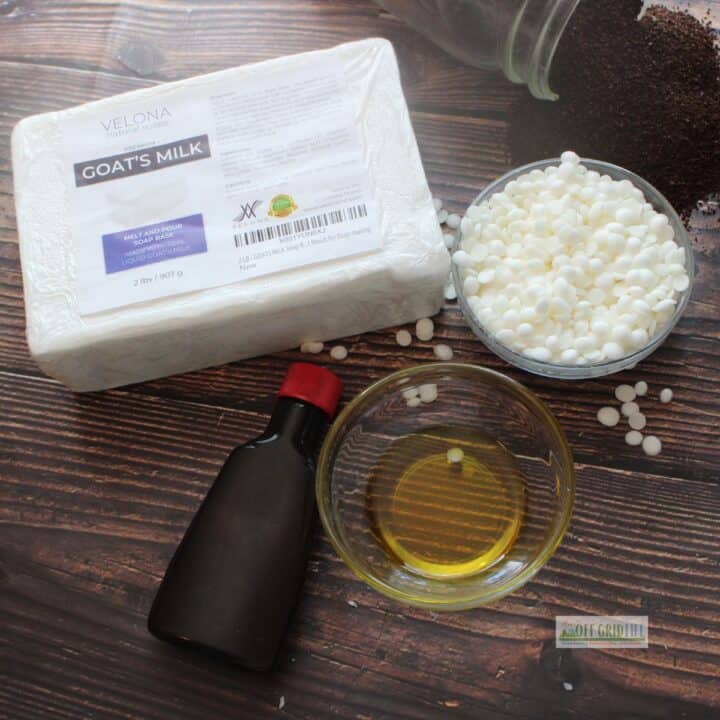
Soapmaking is a practical and creative homestead skill that helps reduce reliance on commercial products laden with synthetic ingredients. It combines oils or fats with lye to create a natural, skin-friendly soap.
As beginners, we started with melt-and-pour kits so we wouldn’t have to handle lye. We now mostly do cold-process soapmaking, which lets us customize with essential oils, dried herbs, and natural colorants like beet juice. Homemade soap also makes excellent gifts or products for a home business.
Revive Natural Healing with Herbal Remedies
After traveling and living all across Canada, I’m just fascinated with the wild herbs and greens that grow from coast to coast. Foraging for medicinal herbs in Canada’s Northwest Territories was a real eye-opener. I learned about Labrador Tea and the many varieties of fireweed. I also saw more chaga than I ever had in Ontario.
Newfoundland’s lush forests also showed me new varieties of wild roses, cranberries, and wild mint. And I know I’m not alone in my foraging adventures.
Urban foraging is on the rise, with more people than ever interested in natural remedies and alternative medicine. (Just remember to respect property rights and consider the possible chemicals, etc., that could have contaminated whatever it is you forage.)
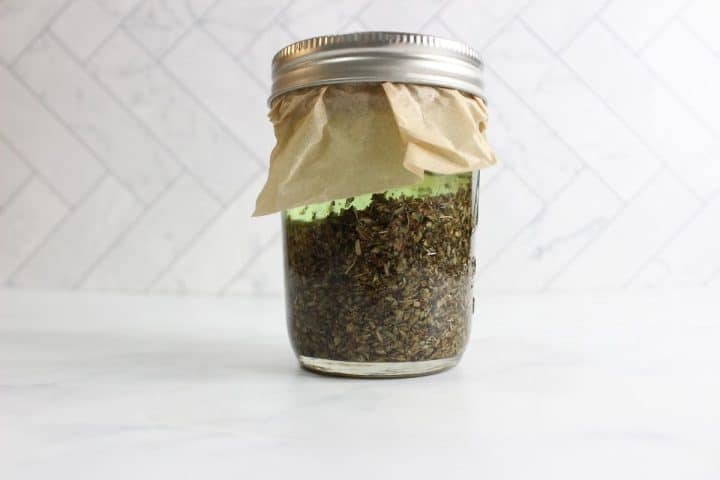
When you collect, grow, or buy fresh herbs and greens, you can create your own old-time treatments and natural remedies. Stock your home apothecary with a jar of oregano oil.
Foraging for Wild Herbs
Foraging allows you to discover and utilize the natural bounty around you. Wild rosehips, for example, can be harvested and used to make oils, teas, syrups, and jellies, providing a rich source of vitamins and antioxidants. Learn more about foraging rosehips here: Foraging Rosehips for Oil, Tea, Syrup, and Jelly.
Growing Herbs at Home
Cultivating herbs in your garden or indoors ensures a steady supply of fresh ingredients for your remedies. Herbs like basil, mint, and parsley are easy to grow and maintain, even in small spaces. For tips on indoor herb gardening, visit 7 Best Herbs for Indoor Gardens.
Fire Cider: A Spicy Immune Booster
Fire cider is a traditional tonic known for its immune-boosting properties. Combining ingredients like apple cider vinegar, honey, garlic, and hot peppers, a traditional fire cider recipe to support health during cough and cold seasons.
Dandelion Tea: A Nutrient-Rich Beverage
Often considered a weed, dandelions are rich in vitamins and minerals. Making tea from their flowers or roots offers digestive benefits and supports liver health. Learn how to make dandelion tea: How to Make Dandelion Tea.
Oregano Oil: A Potent Antimicrobial
Oregano oil is renowned for its antimicrobial and anti-inflammatory properties. Making your own oregano oil at home allows you to harness these benefits for immune support and as a natural remedy for various ailments. Discover the steps to create DIY oregano oil here: DIY Oregano Oil.
Learning these homesteading skills can enhance your self-sufficiency and promote natural health. Always use high-quality ingredients and consult with a healthcare professional before introducing new herbal preparations, especially if you have existing health conditions or are pregnant.
Self-Sufficiency on Social Media
Today, platforms like TikTok, Instagram, and YouTube make it easier than ever to learn homestead skills. Influencers and creators share tutorials, tips, and behind-the-scenes glimpses of their daily practices, offering encouragement and practical advice for beginners.
For example, watching a step-by-step video on canning tomatoes or starting a sourdough starter helps demystify these processes. The visual nature of these platforms shows exactly what to do, how to do it, and what the finished products look like. Many homestead blogs and social media homestead accounts are hugely popular, inspiring viewers to try their hand at traditional skills.
Sustainability and Simple Living
Many homestead skills align with the principles of sustainable living. Composting food scraps, reducing packaging waste, and eating locally grown produce are all practices that support the environment.
Additionally, these hobbies foster a slower, more intentional lifestyle. And many people, myself included, find a simple life refreshing in today’s fast-paced world.
How to Get Started With Homestead Skills
If you’re new to homesteading, start small and build confidence with one or two skills. Try planting a few herbs, baking a simple sourdough loaf, or making a small batch of strawberry jam.
Get started homesteading by considering what modern homesteading means to you. You might want to start creating an urban homestead. Or maybe, like my family, you lean towards the survivalism and homesteading lifestyle.
Check local workshops, libraries, and online communities for opportunities to learn and connect with others interested in homesteading in your area. Or not. Whatever you prefer.
Homestead Skills for a Sustainable Future
The revival of homestead skills reflects our collective desire to reconnect with nature, embrace sustainability, and find fulfillment in the simple act of creating.
As these skills grow in popularity, they equip individuals with practical tools for self-sufficiency and an enduring sense of accomplishment. And that never goes out of style.
Like this post? Save it, share it, and read it!