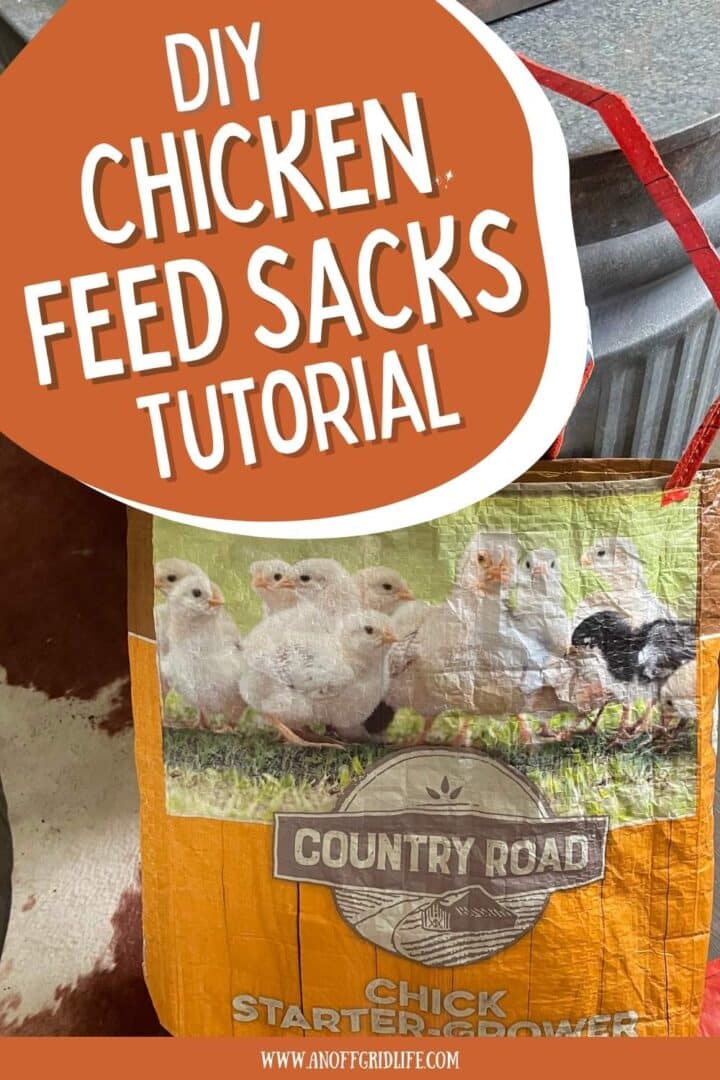
Ready to upcycle that empty chicken feed sack? With these easy-to-follow instructions, learn how to create a practical and stylish chicken feed bag tote and transform empty feed bags into reusable tote bags.
Recently, the girls and I have been busy with all sorts of DIY projects. These projects are a fun, hands-on homeschool activity but also incredibly practical.
We made simple 3-ingredient furniture polish with olive and and beeswax. And we created fizzy toilet cleaning bombs that make scrubbing a little easier.
And let's not forget the beeswax wraps. These little wonders help us say goodbye to plastic wrap and reduce household waste.
We love diving into these projects because they add a unique touch to our home. And at the same time, they keep us connected to our core values of sustainability and self-sufficiency. Check out these DIY adventures on our site and get inspired to start your eco-friendly creations.
What is a Feed Bag Tote?

A feed bag tote, commonly made from upcycled feed bags such as grain bags or horse feed bags, is a durable and environmentally friendly alternative to traditional totes. These bags, originally designed to hold heavy feed, are repurposed into a versatile accessory perfect for everyday use.
How to Make a Tote Sack from a Chicken Feed Bag

Whether visiting your local farm store or making a quick trip to the grocery store, a feedbag tote bag combines practicality with a rustic charm.
Want the printable, step-by-step instructions? You will find them right down at the bottom of this post! Print them out and use them often! ⬇️⬇️
Materials Needed for a Tote Bag
To turn your old feed bags into sturdy market tote bags, you'll need the following:
- Clean, empty feed bags (chicken, horse, or grain bags)
- A sturdy sewing machine
- Good fabric scissors
- Duct tape for reinforcement
-Tape measure - Pinking shears or a rotary cutter (optional)
Step-by-Step Instructions

Creating your own tote is straightforward. Here's how:
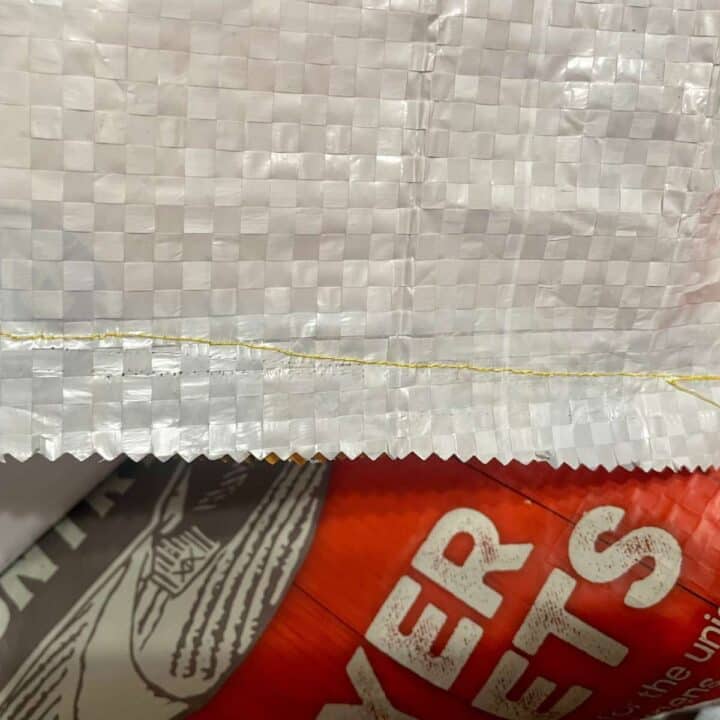
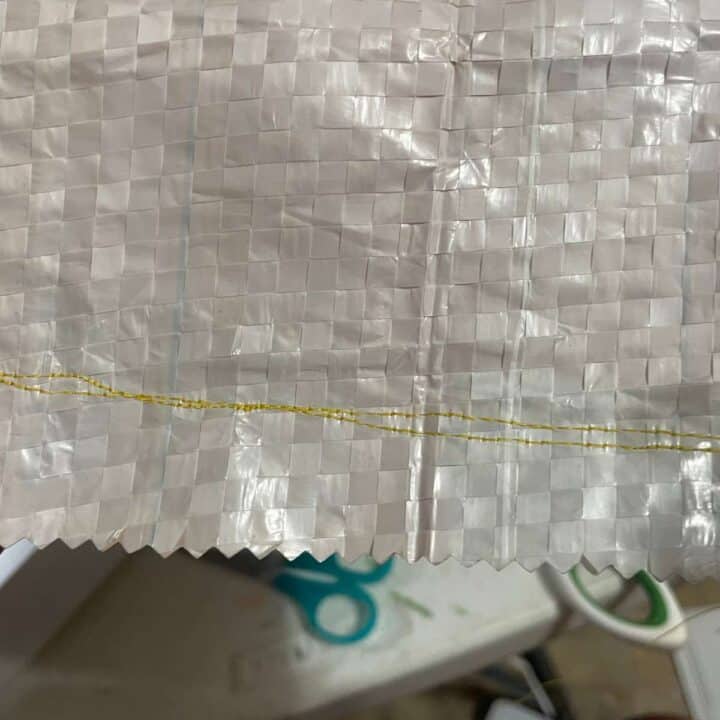
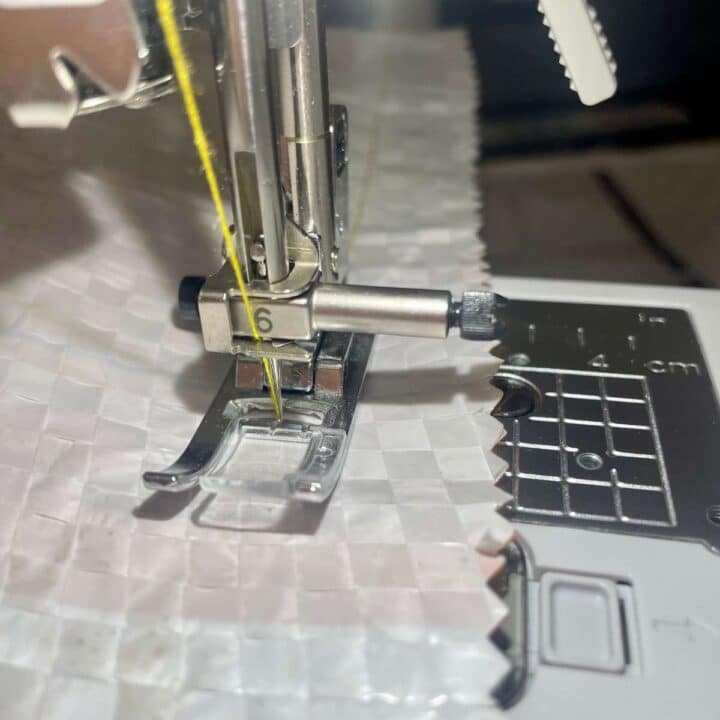
- Prepare the Bag: Start by removing the bottom seam of the feed bag. Pull the string out, similar to opening the top of the bag.
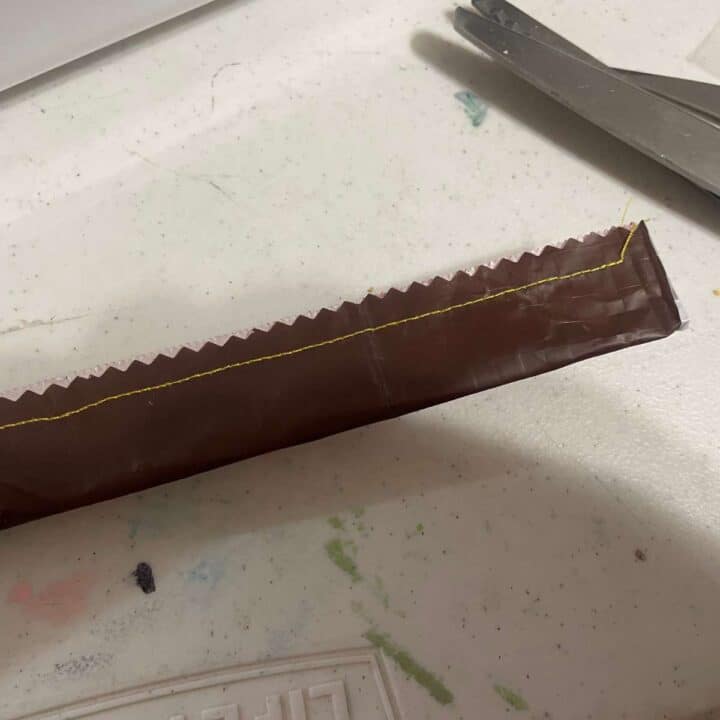
- Cut to Size: Trim the bag to your desired height, leaving extra for the seam allowance. Use pinking shears for a decorative edge or a rotary cutter for a straight cut.
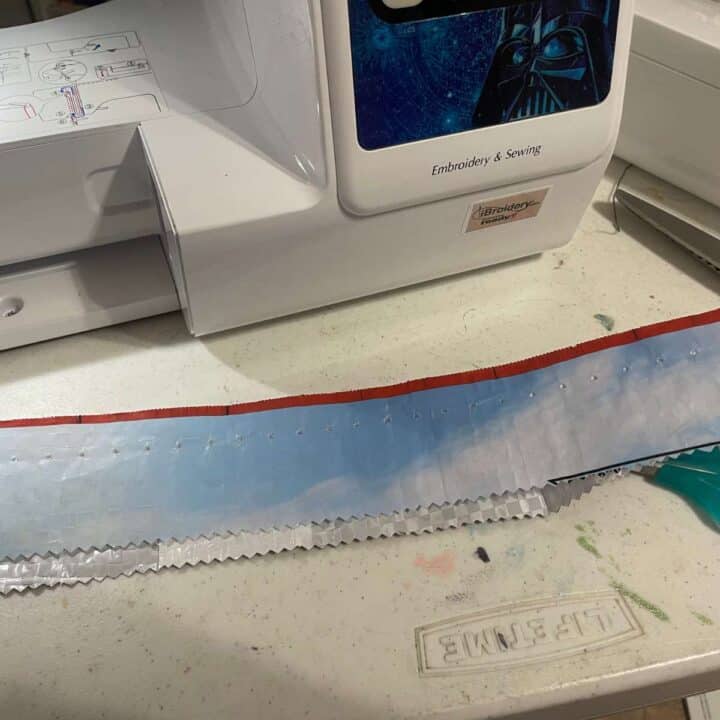
- Create Shoulder Straps: Cut two strips from the leftover material for the shoulder straps. Decide the length based on your personal preference for a long shoulder strap, a cross body strap, or short handles.
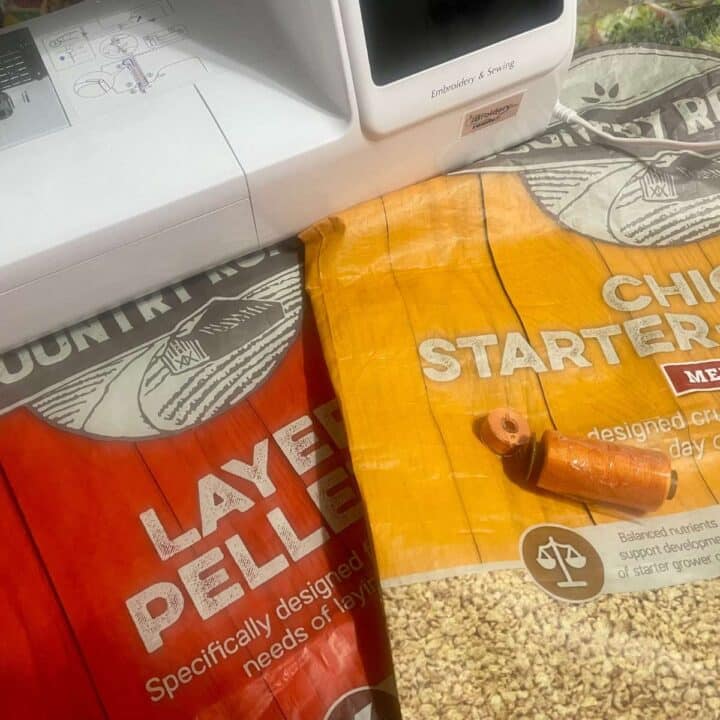
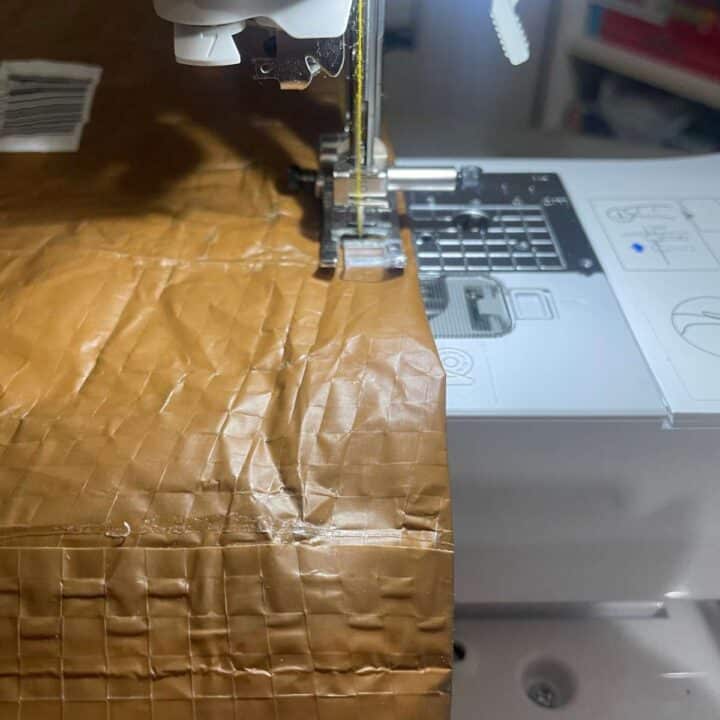
- Sewing the Base: Turn the bag inside out and sew a half-inch seam in a straight line at the bottom. Reinforce with two or three runs for durability.
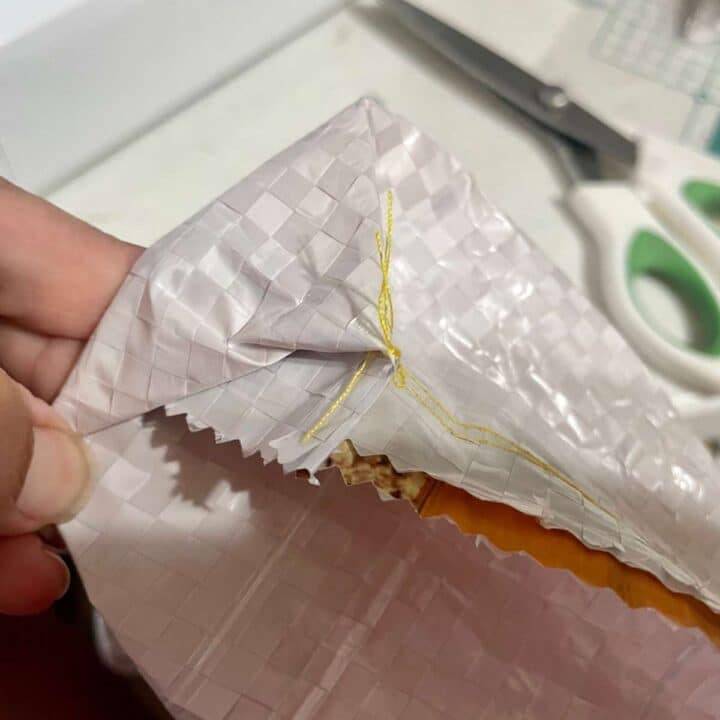
- Forming the Base: (Optional) If you prefer a flat base for your reusable tote bag, fold each bottom corner and sew or secure with duct tape.
- Finishing Touches: For the next step, turn the bag right side out, fold the top edge by an inch, and sew around for a polished look.
- Attach the Straps: Secure the straps to the bag and sew them well so they are sturdy enough to handle the load.
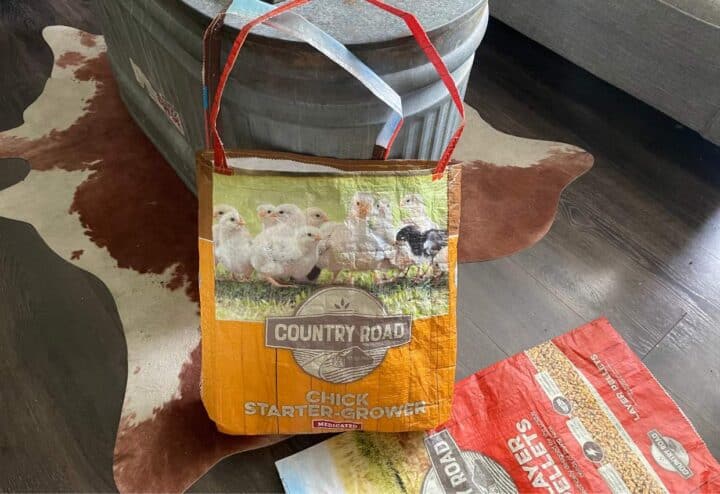
- Final Touches: Trim any loose threads, and your handmade chicken feed bag tote is ready for use.
Upcycling empty feed bags into a chic and sturdy chicken feed bag tote is a simple sewing project and a step towards sustainable living, instead of tossing out your old chicken feed bags.
These upcycled feed bags are practical, durable, and have many uses. Fill one with handmade preserves, soaps, or some good home baking and give it as a gift.
Feed Tote Bags FAQs
You have questions, and we have answers! Don't see your question here? Add it in the comments below.
What Kind of Feed Bags Work Best for Tote Bags?
Grain bags, horse feed bags, and chicken feed bags are ideal due to their strength and size. Look for woven plastic for the best results.
Can I Wash My Feed Bag Tote?
Yes, you can gently wash most feed bags. However, I recommend spot cleaning them to avoid wear and tear on the material and the sewing.
How Can I Make My Tote Bag More Durable?
Using a French seam for edges and reinforcing the shoulder straps with multiple stitches can significantly increase durability. Also, reinforce the top edge of the bag. Sew an extra side seam on each of the long sides. You could even apply duct tape to stress points to add extra strength.
How to Make a Tote Bag From a Feed Bag
Create a unique, sustainable tote from chicken feed bags. Makes a unique, low-waste gift. Follow our simple tutorial.
Materials
- Empty clean feed sack
- Heavy duty thread
- Duct tape
Tools
- Sewing machine
- Scissors
- Duct Tape
Instructions
- Remove the seam off the bottom of the bag by pulling the string off, the same way you do the top.
- Cut your bag down to desired height, leaving enough room to create a top and bottom seam. If you aren't worried about the graphics on the bag you can easily get two nice-sized totes from one bag. I like to use pinking shears to give the edge a nice shape but you can also measure and use a mat and rotary cutter to get a nice crisp even line.
- From the scrap pieces you want to cut two loops off for straps, the entire length of the bag, 2”-3” wide, cut each end to turn the loops into strips and then decide how long you want your straps to be, you can make a long shoulder strap or short handles depending on how you want to use them. Set these two pieces aside for later.
- Turn the bag inside out and flatten it, lining up the front and back sides.
- Sew from one end to the other about ½” from the bottom edge at least twice, three times if you want to make it really sturdy!
- This step isn't really necessary, but if you want the bag to have a bit more of a flat bottom, you can fold each corner in, kind of like you would when gift wrapping, and sew it in place or use a good duct tape to hold it in if your items are not too heavy.
- Turn the bag inside right, with the graphics facing outward, and fold down the top 1” all the way around. Sew along it all the way around. This is more for making it look finished off; you can repeat another row if you like, but you don't have to.
- Grab your handles, line them up on each side where you want them, and sew them into place either inside or outside the bag. It is totally up to you. The handles will be doing a lot of the work, so you will want to sew back and forth over them several times.
- Trim off loose threads, and your bag is ready for work.
Like this post? Save it, share it, and read it!