Foraging is a fun way to find natural ingredients to turn into beautiful crafts for gifts or to sell at craft fairs or markets. Here's how to make a pressed wildcraft bookmark from flowers and leaves you can forage in your neighbourhood.

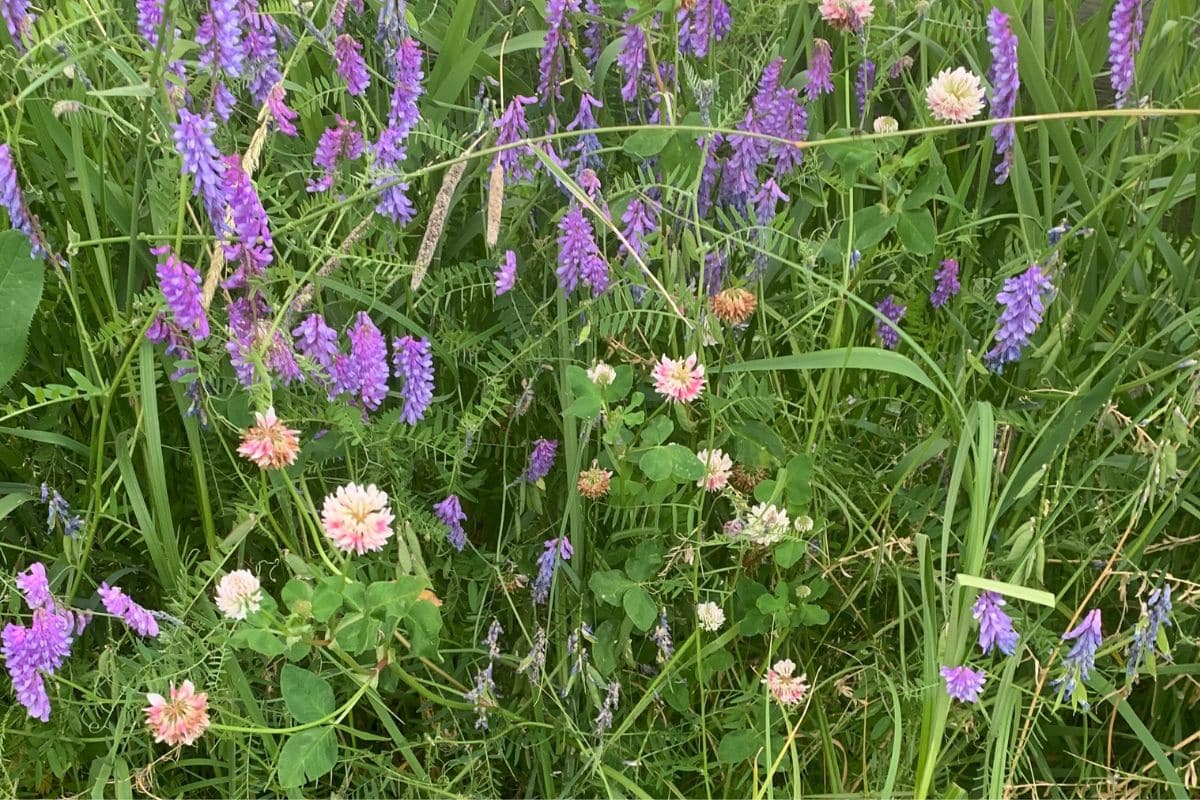
On your next foraging trip, gather flowers and leaves for your bookmark. Look for flowers in bright colours like red, pink, orange, and purple.
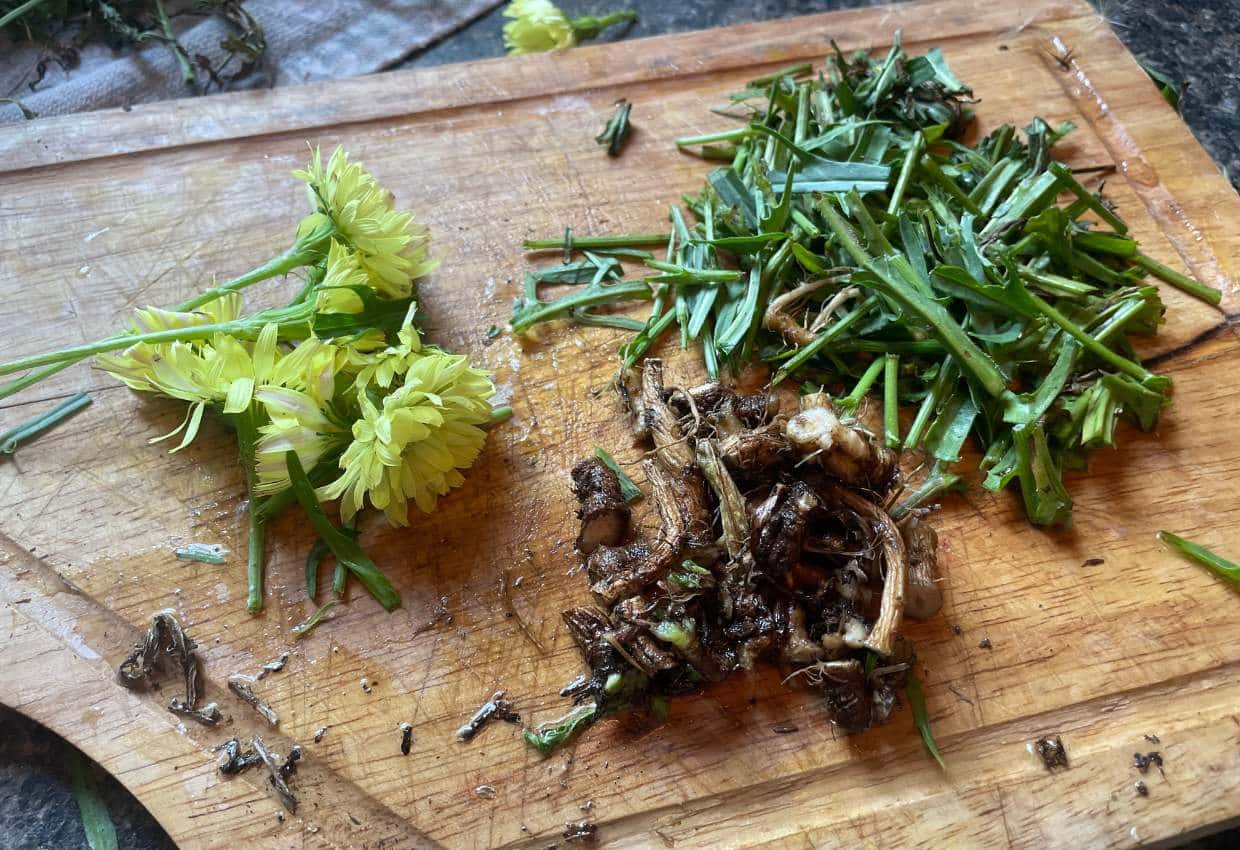
Choose a variety of leaves in different shapes and shades of green. Look for leaves and flowers with petals that will lay flat.
When foraging, remember to never pick an area clean. Make sure to leave some plants so they can reseed and that new plants will grow there. And when foraging with children, remind them of this important rule before each outing.
How to Make a Pressed Wildflower Bookmark
You'll find that just a handful of flowers and greenery is all you need to make a pretty pressed wildcraft bookmark - or several.
Supply List for Pressed Wildcraft Bookmark
Here's what you'll need.
- Foraged wildflower petals, leaves
- embroidery floss in different colors - 6 strands per bookmark
- scissors
- ruler or measuring tape
- dry erase marker
- paper towel
- laminator
- 1 laminating pouch, 8 ½ x 11 inch
- 1 or ½ inch single hole punch
This is the fun part!
Making Pressed Wildflower Bookmarks

While your flowers and greens are still fresh, gently take them apart so you have single leaves and petals. Open your laminating pouch carefully.
We like to place the pouch on a piece of cardboard or a file folder to keep the petals and greenery from moving around too much while we're carrying them to the laminator.
Start placing your petals and leaves where you like. We find we can cut six bookmarks from one 8 ½ x 11-inch laminating pouch if we cover the whole sheet.
TIP: You do NOT necessarily need a laminator to make these pressed wildcrafting projects. We used to make them by ironing two sheets of waxed paper with the flowers between them. Yet we found the wax uneven and the paper too flimsy.
Use a Laminator

Laminating machines are a homeschool mom's best friend! Kids might need help with this step, but it's pretty easy. My five-year-old could feed the laminating pouch with supervision, while my nine-year-old did it independently.
Plug in the machine, give it a minute to warm up, then feed the pouch in sealed-side first. In seconds, it comes out the bottom with your foraged flowers and greenery carefully preserved inside.
Your pressed Wildcraft bookmark is almost ready. But be careful - the sheet will be hot for a few minutes, so handle it carefully.
We notice our laminated bookmarks preserve the bright colours much better than our old waxed-paper method.
Depending on the size of your bookmarks, you can get anywhere from six to eight per sheet.
Aim for pressed wildflower bookmarks of approximately 2 ¼ by 6 ½ inches. This will give you six bookmarks (four vertical and two horizontal) from one 8 ½ by 11-inch laminating pouch.
You'll be left with a small square you could cut into circles, hole-punch and add ribbons to use for suncatchers.
Use a yellow dry-erase marker to mark the cut lines on the laminated flower sheet. Once you cut the bookmarks, using a paper towel and wiping off the yellow marker is easy.
The cut corners of each laminated bookmark can be quite sharp. Use scissors to gently round them so no one gets cut by accident!
Add a tassel...
What's a pretty bookmark without a pretty tassel? These easy-to-make tassels use six strands of DMC embroidery thread. You could use as many as eight strands if you prefer.
Laminate your bookmark
Before adding the tassel, punch a hole between ¼ inch and ½ inch from the top of each bookmark.

Simply measure out 9 inches of six strands of embroidery thread. Then holding them in your left hand, fold them in half. Feed the folded end through the punched hole and out the back. Then draw up the rest of the floss through the loop formed by the folded end.
Just like when you're foraging for edible, medicinal and cosmetic flowers, roots, stems, and leaves, remember that some wild greens and flowers are poisonous. Know your local foraging guidelines and follow the foraging safety rules for your area!
Like this post? Save it, share it, and read it!

I love these bookmarks. It's a wonderful way to spend quality time as a family as well. You are one of our features on Happiness is Homemade for May 9th at LifeasaLEOWife.com!