Ever wondered how to keep your favorite veggies coming back year after year without buying new seeds? I did. That's why I learned how to save seeds many years ago. Here's what you need to know.
How I Started Seed Saving
When we moved to an off-the-grid homestead in the Canadian far north, I didn't realize the supply issues we would face. Everything, including food and supplies, gets shipped up to us via plane, boat or transport truck from southern Canada.
When the weather is bad, or as we have learned in the past few years, when other factors are involved, like pandemics, labor strikes and various natural disasters, getting food can be tricky.
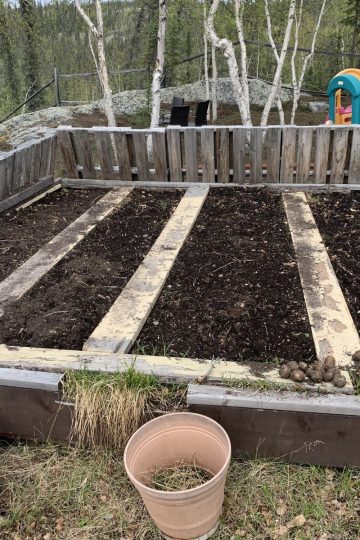
That's why we committed to becoming as self-sufficient as possible. In addition to learning how to forage, fish, and hunt small game, we started homesteading activities. We planted a garden, composted, and built a chicken coop. At one time, we had over 40 chickens and turkeys, too.
That first year, I just bought all the vegetable seeds I could at Canadian Tire and Walmart. I didn't even think about saving seeds.
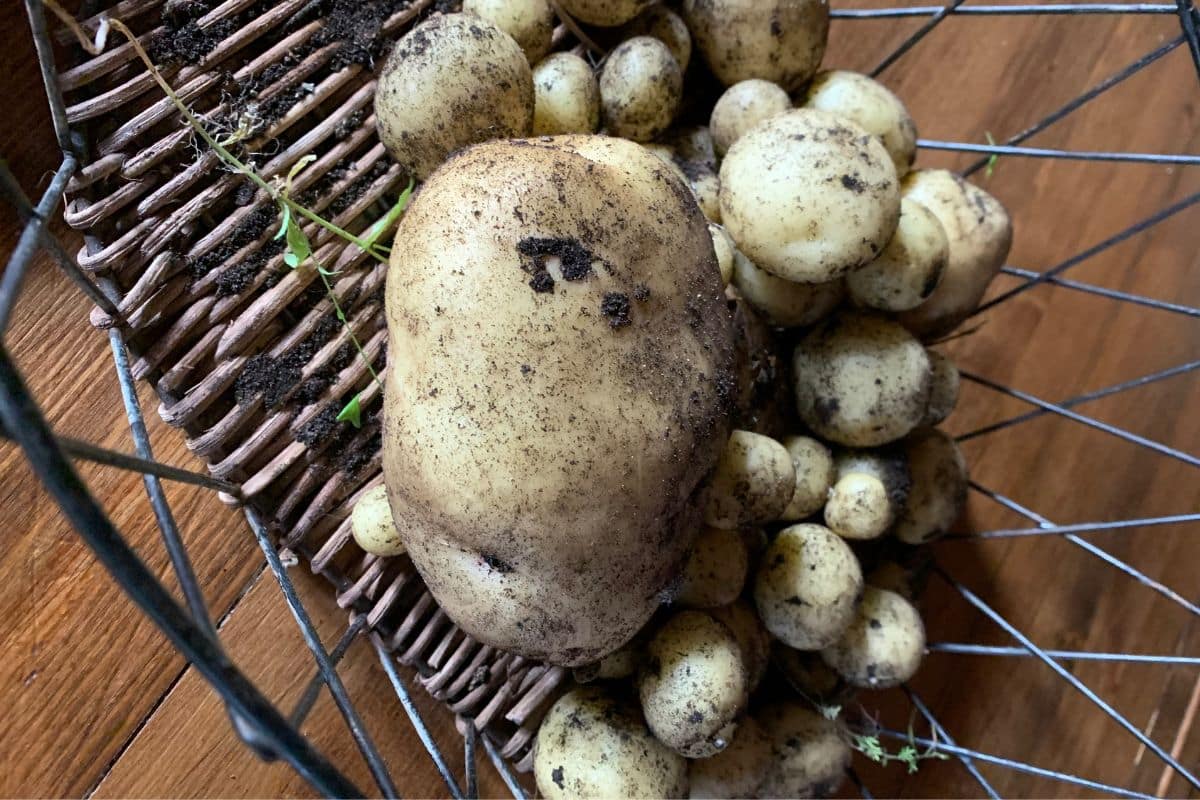
It wasn't until we noticed tomatoes, potatoes, and squash growing in our compost that I decided to learn how to save seeds.
The following year, we began saving our tomato seeds. Then we tried peppers. It worked! Even better, we learned we could grow these veggies indoors through the long, dark winter. (We used a combination of grow lights and our southwest-facing laundry room with huge windows.)
Why Learn How to Save Seeds
Saving seeds from your garden is the secret to self-sufficiency and preserving those delicious heirloom varieties grandma used to grow. It's not as complicated as you might think, and the rewards are oh-so-sweet. Ready to dip your toes into seed saving? I'll show you how easy it is to start banking seeds straight from what grows in your own backyard.
What's Involved in Saving Seeds
Seed saving is an art and a science that has become popular again. Today's gardeners want to preserve culturally important foods, become self-sufficient, and support diversity in our food system.
By saving and sharing seeds from your favorite vegetables and plants, you help keep more varieties going. It also gives you the chance to strengthen your relationships with other gardeners.
You also have the opportunity to create a living legacy by giving seeds to the next generation: your children, nieces and nephews. This sets the stage for descendants of a plant you love to nurture your descendants for generations to come.
Benefits of Saving Seeds
Saving seeds comes with a host of benefits. You get to preserve your favorite varieties year after year and promote genetic diversity and adaptability in the greater food supply.
When you secure your own food supply by saving seeds, you're taking a step towards self-sufficiency and independence. You won't need to rely on seed companies or worry about certain varieties disappearing from the catalogs.
Preserving Heirloom Varieties
Heirloom varieties of vegetables and seeds have been passed down through generations, often within a family or community. These open-pollinated varieties have stood the test of time, selected for traits like flavor, adaptability, and resilience.
By saving and growing heirloom seeds, we can enjoy these varieties' delicious flavors and unique characteristics. Even better, we also play a role in preserving our agricultural heritage for future generations. This is a lesson I often return to when teaching gardening in our homeschool day.
Choosing the Right Plants for Seed Saving

Getting started with seed saving is easy, especially if you choose suitable vegetables and plants. Look for open-pollinated varieties rather than hybrids, and select your healthiest, most vigorous plants from which to save seeds.
Understanding Plant Types
To keep your plant's offspring true to type, you must grow it under the right conditions. So, understanding the different plant types is key.
Annual plants complete their lifecycle in one growing season. This makes them great candidates for beginning seed savers.
Biennial vegetables like carrots and onions take two years to set seed. Once established, perennials produce seeds year after year.
Avoiding Hybrid Seeds
When selecting plants for seed saving, try to avoid hybrid varieties. Hybrids, which are created by crossing two different varieties, won't produce offspring with the same traits as the parent plant.
Instead, look out for open-pollinated varieties. Seeds saved from these plants will produce "true to type." This means they'll have the same characteristics as the parent plant, as long as they don't cross-pollinate with other varieties.
Selecting Healthy Parent Plants
The plants you choose for seed saving should be the cream of the crop. Select your healthiest, most vigorous, and best-producing plants. Avoid any that show signs of disease or fail to thrive.
Remember, the traits of the parent plant will be passed down to the next generation. By carefully selecting the plants you save seeds from, you can slowly improve the quality and adaptability of the varieties you grow.
How to Save Seeds from Tomatoes
Tomatoes are among the easiest crops from which to save seeds. That's why we started with them.
With just a little know-how, you can select, ferment (if you want), dry, and store tomato seeds for next year's garden.
Harvesting Ripe Tomatoes
The first step in saving tomato seeds is to harvest ripe fruit from your chosen plant. The tomatoes should be fully mature, as this means the seeds are also fully developed. Classic tomato varieties like 'Big Boy' are great choices for seed saving.
Fermenting Seeds
Tomato seeds are encased in a gelatinous coating that contains germination inhibitors. Fermenting helps remove this coating and improves germination rates.
To ferment, simply scoop out the seeds and pulp from your ripe tomatoes. Next, place this in a jar with a bit of water.
Let sit at room temperature for a few days until the mixture starts to ferment and mold forms on top. Then rinse the seeds, discarding the pulp and mold.
Drying and Storing
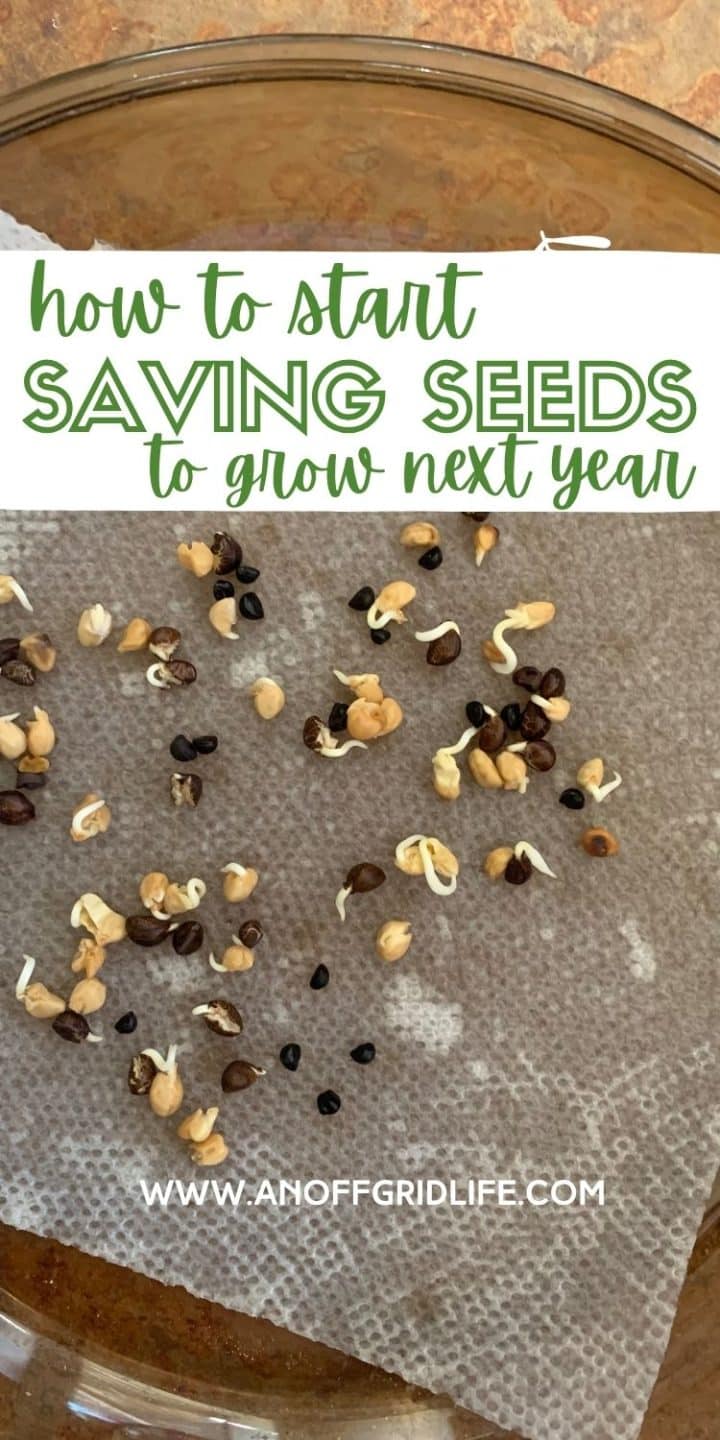
Once your tomato seeds are fermented and rinsed, it's time to dry them. Spread the seeds out on a paper plate or coffee filter.
They should air dry for about a week. I stir mine occasionally to prevent clumping.
Then store your seeds in an airtight container in a cool, dark place when completely dry.
I like to use small envelopes labeled with the variety and date. When stored properly, tomato seeds can remain viable for several years.
Saving Seeds from Peppers and Beans
Peppers and beans are two more easy crops for seed savers. That's one big reason the girls and I could grow beans indoors over the winter months. However, the key is to let the fruits fully mature on the plant before harvesting.
Harvesting Mature Pods
For peppers, wait until the fruits have fully ripened and changed color. Hot peppers like Corno di Toro are usually red, yellow, or orange when mature.
Sweet bell peppers should be allowed to ripen past the green stage. We were also able to grow hot banana peppers from saved seeds.
Bean pods should be left on the plant until they're dry and brittle. This usually takes a few weeks after you would normally harvest them for eating. Pole beans or bush beans like Blue Lake are good choices.
Drying Seeds
Once you've harvested your mature pepper and bean pods, it's time to extract the seeds.
Peppers are easy. Simply cut open the fruits and scrape out the seeds. For beans, shell the dry pods to release the seeds.
Spread the seeds out in a single layer on a paper plate or tray. Then, let them air dry for about a week. Stir occasionally to ensure they dry evenly and to prevent clumping or mold growth.
Storing Pepper and Bean Seeds for Next Season
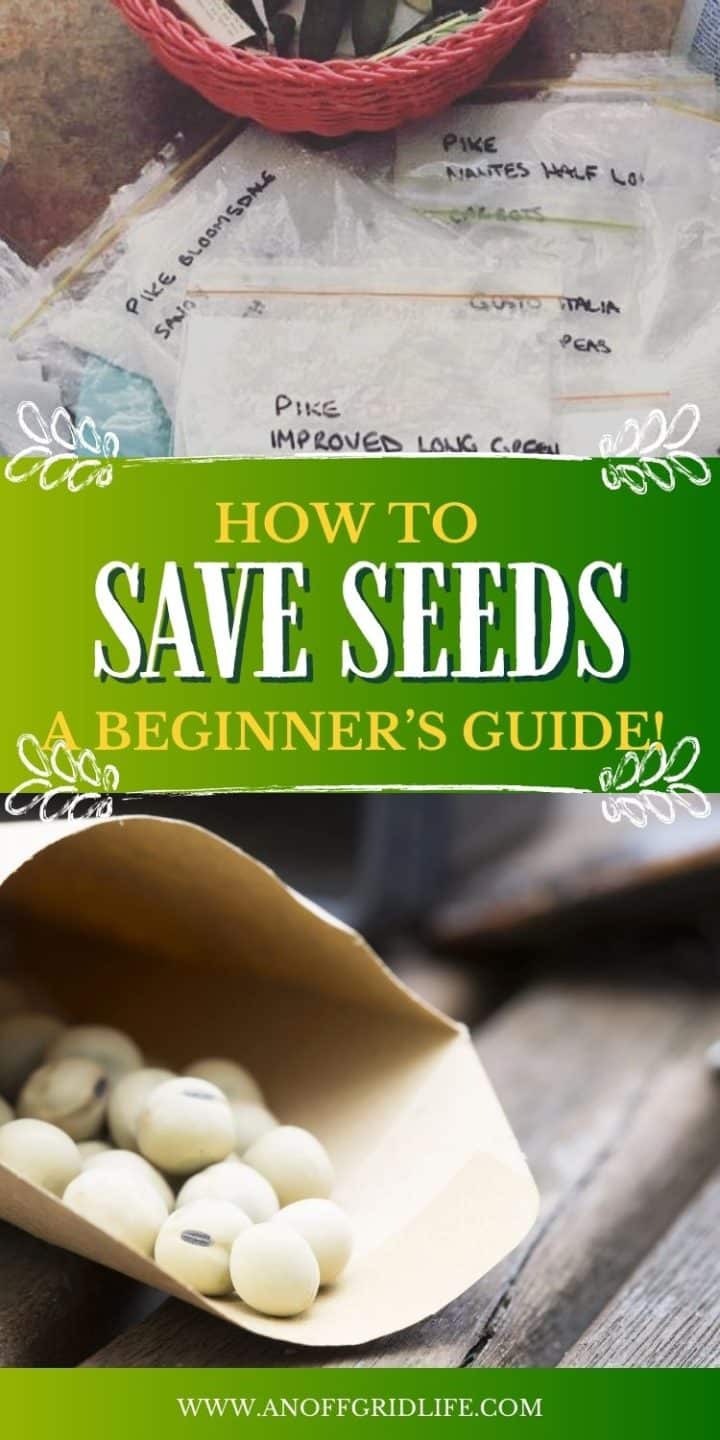
Once your pepper and bean seeds are thoroughly dry, store them in airtight containers or envelopes. Label each container or envelope with the variety name and the date harvested.
When stored in a cool, dry place, pepper seeds can remain viable for 2-3 years. Bean seeds have an even longer shelf life. A couple of years ago, I grew black beans from seeds that were four years old.
Seed Saving Techniques for Biennial Crops

If you're like me, you love the challenge of saving seeds from biennial crops like brussels sprouts and vine crops. Now, it's true that it takes a bit more planning and patience, but the rewards are so worth it.
You see, biennials flower and set seed in their second growing season. So you need to be patient. That means you've got to overwinter these plants and protect them from cross-pollination to get viable seeds.
To be honest, I struggled with this at our home in the Northwest Territories, where it sometimes hit - 50C (that's -58F) in the winter. So, I'm going to give it another shot when we get our Ontario homestead up and running.
Overwintering Plants
The key to success with biennials is getting them through that first winter. In milder climates, you might be able to leave them right in the garden with a thick layer of mulch.
But if you're in a colder area like me, you'll need to dig them up and store them in a cool, dark place like a root cellar or unheated garage.
I've had good luck packing my biennial roots in damp sand or sawdust in a plastic tub in our warm(ish) boiler room. Just make sure the roots stay moist but not soggy, and they should sprout new growth come spring.
Preventing Cross-Pollination
Once your biennials start flowering, you must watch out for cross-pollination. Different varieties of the same species can easily cross, resulting in seeds that won't grow true to type.
To prevent this, I try to use isolation techniques. This includes spacing my plants far apart, planting barrier crops in between, or even covering them with row covers or fine mesh bags.
Harvesting Seeds
As I learned after several years of saving my seeds, timing is everything when it comes to harvesting biennial seeds. You want to wait until the seed pods or heads are fully mature and starting to dry out. But don't want so long that they shatter and drop their seeds all over the ground.
For crops like Brussels sprouts, I cut the whole stalk and hang it upside down in a dry, airy place until the pods are crisp. Then, I crush them to release the seeds and give them a good cleaning by winnowing out the chaff.
With some extra care and attention, saving seeds from biennial crops is totally doable. And it's rewarding. They'll give you and your family some variety in your homegrown diet.
Storing and Organizing Your Saved Seeds
Once you've harvested your seeds, you need to ensure they stay viable until you're ready to plant them next season. Proper storage is key. Over the years, I've learned a few tricks that I'll share with you now.
Proper Drying Methods
Before you store your seeds, make sure they're completely dry. Any moisture left in the seeds can lead to mold and rot, ruining all your hard work.
I like to spread my seeds out in a single layer on a screen or paper towel. Depending on the size of the seed, I let them air dry for about a week.
You can also use a food dehydrator on the lowest setting. However, be careful not to overdo it and cook your seeds. Learned that the hard way.
Airtight Containers
Once the seeds are bone dry, it's time to pack them away in airtight containers. I've used everything from mason jars to plastic baggies to repurposed spice jars. The key is to choose something that will keep out moisture and pests.
In the past, I've also added a desiccant packet or two, just to be safe. You can buy these online or save the ones that come with new shoes or electronics. They absorb any excess moisture and help keep your seeds viable for years.
Labeling and Inventory
Trust me, there's nothing more frustrating than finding a mystery packet of seeds and having no idea what they are or how old they are. That's why labeling and inventory are so important.
I write the crop name, variety, and harvest year on every container or baggie. I also keep a master list of all my seeds in a notebook or spreadsheet. That way, I always know what I have on hand and when it's time to refresh my supply.
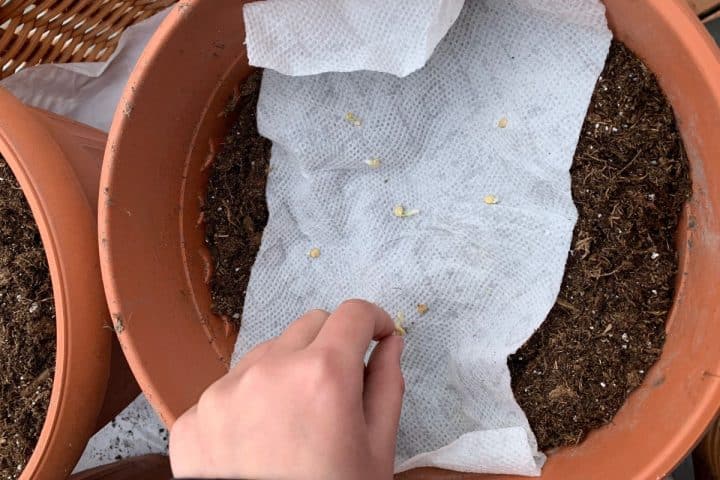
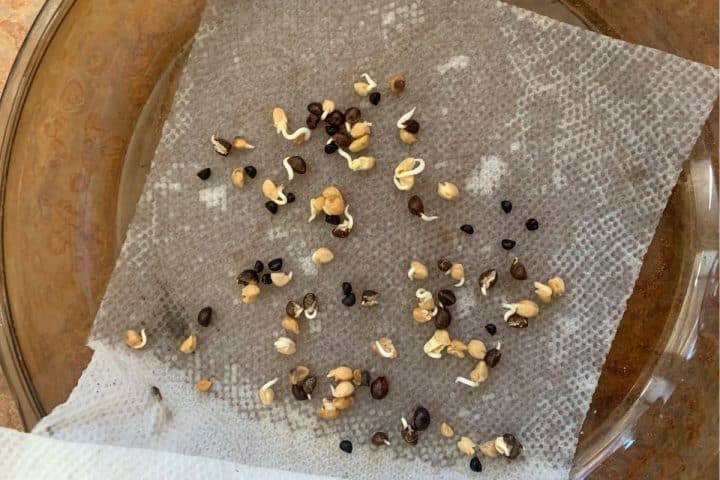
Simple Seed Germination Tests
I also like to do a germination test on my older seeds before planting season. This lets me just see how viable they still are.
A germination test is really simple. I place a few seeds on a damp paper towel, fold it up, and check for sprouts after a week or so.
If the germination rate is low, I know it's time to compost those seeds. Then, I start fresh.
Your saved seeds can last for years with proper drying, storage, and organization. That way, you'll have your very own seed bank to provide you and your family with a lifetime of homegrown goodness.
Tips for Maintaining Seed Quality and Purity
Saving seeds is one thing. However, saving high-quality, true-to-type seeds is another level entirely. Over the years, I've developed some strategies for maintaining the purity and vigor of my seed stock. I'm happy to share them with you.
Selecting Superior Plants
Start by taking the time to choose the right plants from which to save seeds. I always look for the healthiest, most vigorous specimens with the best-tasting fruit or the most beautiful flowers. These are the plants that have the genetics I want to pass on to future generations.
I also look for disease resistance or other desirable traits, such as clearly ripening or compact growth habits. By selecting seeds from crops with these qualities year after year, I've developed some resilient and high-performing strains, especially when it comes to tomatoes and peppers.
Isolation Distances
As I mentioned earlier, avoiding cross-pollination is crucial to maintaining seed purity. After much trial and error, I learned that different crops have different isolation requirements.
For example, I've read that corn needs to be isolated by at least 500 feet to prevent crossing, while tomatoes only need about 10-20 feet. And some crops, like squash and melons, can cross with wild relatives like gourds and need even more space.
I always try to do my research and plan my garden accordingly, giving each crop plenty of room to do its thing without any unwanted visitors. And yes, It takes a bit of extra planning, but it's worth it for the peace of mind.
Roguing Out Off-Types
Even with the best selection and isolation practices, a few oddball plants can sometimes slip through the cracks. Maybe they were accidentally crossed with another variety, or they're just displaying some weird mutation.
When I spot these "off-types" in my garden, I always "rogue" them out - meaning I pull them up and toss them in the compost pile before they have a chance to pollinate the rest of the crop. It can be tough to cull a perfectly good plant, but it's necessary to maintain the integrity of the strain.
By roguing ruthlessly and only saving seeds from the very best plants, I've kept my seed lines pure and true, season after season.
Saving seeds connects you to the ancient tradition of preserving the best of each harvest for future generations and for your own future use. You save money and become more independent and self-reliant by selecting seeds from your healthiest, most flavorful crops.
Remember, start with easy self-pollinating crops like tomatoes, beans, and peas. To maintain purity, grow only one variety of cross-pollinating crops at a time. And always store your carefully dried seeds in airtight containers in a cool, dark place.
With practice, you'll develop your best methods and favorite seed varieties to build your seed bank. Learning to save seeds is a valuable skill for taking charge of your family's future food supply. Plus, it helps me feel better equipped to deal with potential food (and seed) shortages in the future!
How to Save Seeds FAQS
Over the past ten years of writing about growing your own food and backyard gardening, I've received many questions and comments. Here are some of the most common.
What is the best way to save seeds?
Pick ripe fruits from your healthiest plants. Dry them out, then store them in a cool, dark spot.
How do you dry seeds for next year?
Rinse and spread the seeds on paper towels. Let them air-dry away from direct sunlight for a week.
Why is seed saving illegal?
So this is a bit of a gray area. While saving seeds isn't broadly illegal, using patented or copyrighted varieties without permission could land you in hot water. Just so ya know.
Is it worth saving seeds?
Absolutely. It saves money, preserves plant diversity, and lets you share unique varieties with others.
Like this post? Save it, share it, and read it!