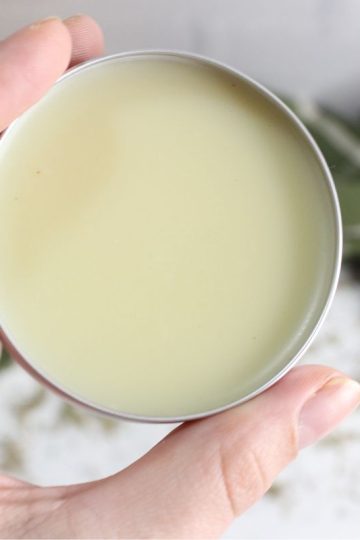
DIY hair butter is a natural way to nourish your hair, giving it moisture, softness, and shine without synthetic additives. Whether you have dry hair, curly hair, or thick hair that craves hydration, this simple homemade hair butter recipe is a great way to condition your strands and promote hair health using natural ingredients.
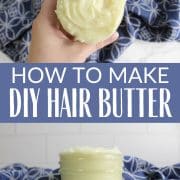
How to Make DIY Hair Butter

This natural hair butter is an oil-based product that provides deep moisture and nourishment. It works well as a leave-in conditioner for curly hair, coily hair, and high porosity hair, but it can also be used in small amounts on fine hair or oily hair to tame frizz.
Ingredients

This recipe makes about 4 ounces of hair butter and uses a base ingredient blend that helps condition hair and seal in moisture.
- ¼ cup unrefined shea butter (melt shea butter for easier mixing)
- 2 tablespoons jojoba oil (lightweight and great for all types of hair)
- 1 tablespoon organic coconut oil (a natural moisturizer that penetrates the hair shaft)
- 20-30 drops of your favorite essential oils (optional, for added benefits and scent)
Depending on your hair type and needs, you can swap or combine other carrier oils, such as avocado oil, sweet almond oil, or olive oil.
Directions

This simple shea butter recipe requires minimal tools and effort, making it a great way to create your own hair butter at home.
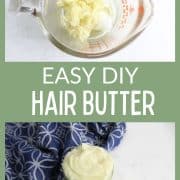
Step 1: Melt the Ingredients

Combine the shea butter, jojoba oil, and coconut oil in a heat-safe glass jar or bowl. Use a double boiler to gently melt the butters and oils over low heat. Stir occasionally until everything is fully liquefied.
Step 2: Add Essential Oils

Once melted, remove from heat and let cool slightly before adding essential oils. If you want a hair butter that promotes hair growth and scalp health, consider adding tea tree oil or rosemary oil.
Step 3: Let It Cool and Whip

Allow the mixture to cool at room temperature until it begins to solidify but is still soft. Using an electric hand mixer or an immersion blender, whip the mixture until it has a creamy texture. This step helps create a light, fluffy consistency that is easier to apply.
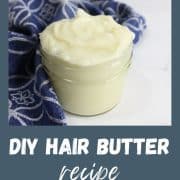
Step 4: Store in a Jar
Transfer the whipped butter into a clean, dry 4 oz glass jar with a lid. Store at room temperature away from direct sunlight to extend its shelf life.
How to Use DIY Hair Butter

A little goes a long way with this hair cream. Take a small amount, rub it between your hands to warm it up, and apply it to damp hair or wet hair for better absorption. It can be used as:
- A daily leave-in conditioner for curly hair or thick hair
- A hair mask for deep conditioning (leave in for 30 minutes before rinsing)
- A finishing cream to smooth dry hair and tame frizz
If your hair is on the oily side, apply sparingly to the ends rather than the scalp.
Why Make Your Own DIY Hair Butter?
For the past few years, my daughters and I have been experimenting with making our own skincare and beauty items. We started with easy goat milk soaps.
I love making my own products because it gives me the chance to choose natural ingredients and skip the synthetic additives, which researchers have found may cause skin irritations and worse. For example, I use pure extracts to create my gardener's soap, which cleans gently without stripping away moisture. I also enjoy mixing up shampoo bars that work well for my hair and offer a more sustainable way to wash without all the chemicals.
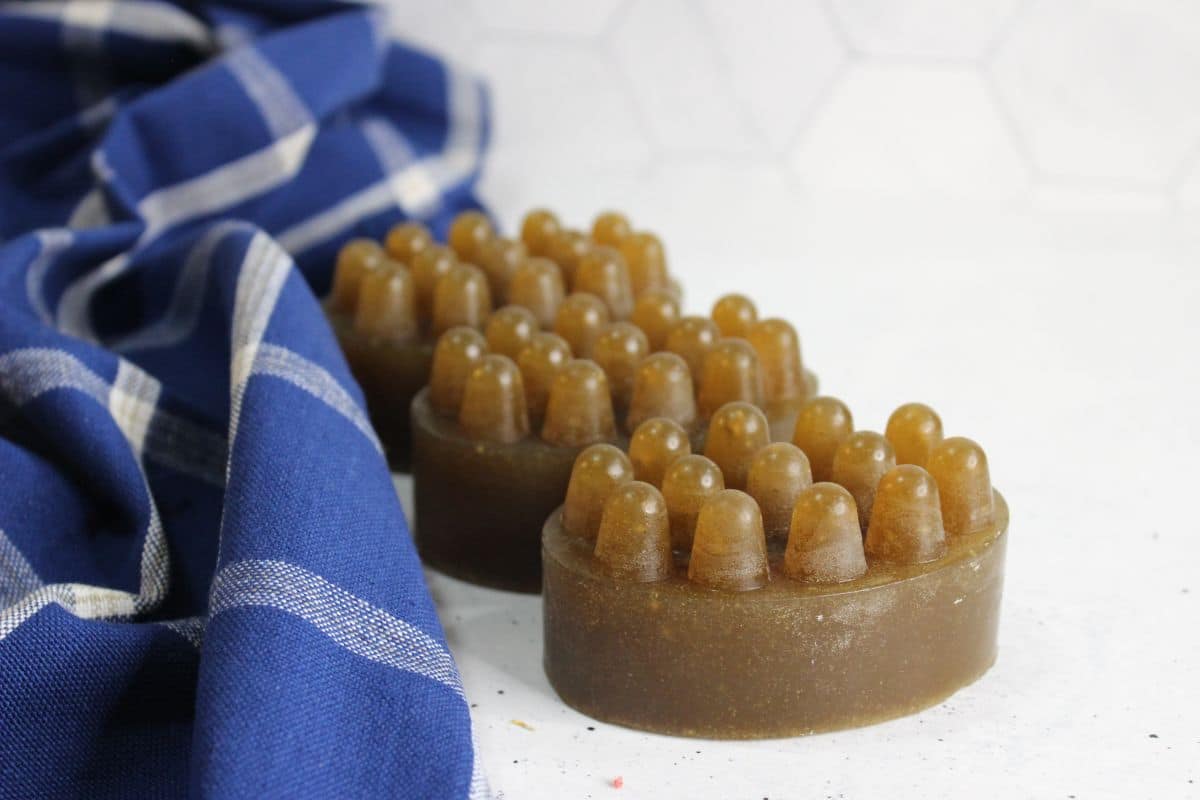
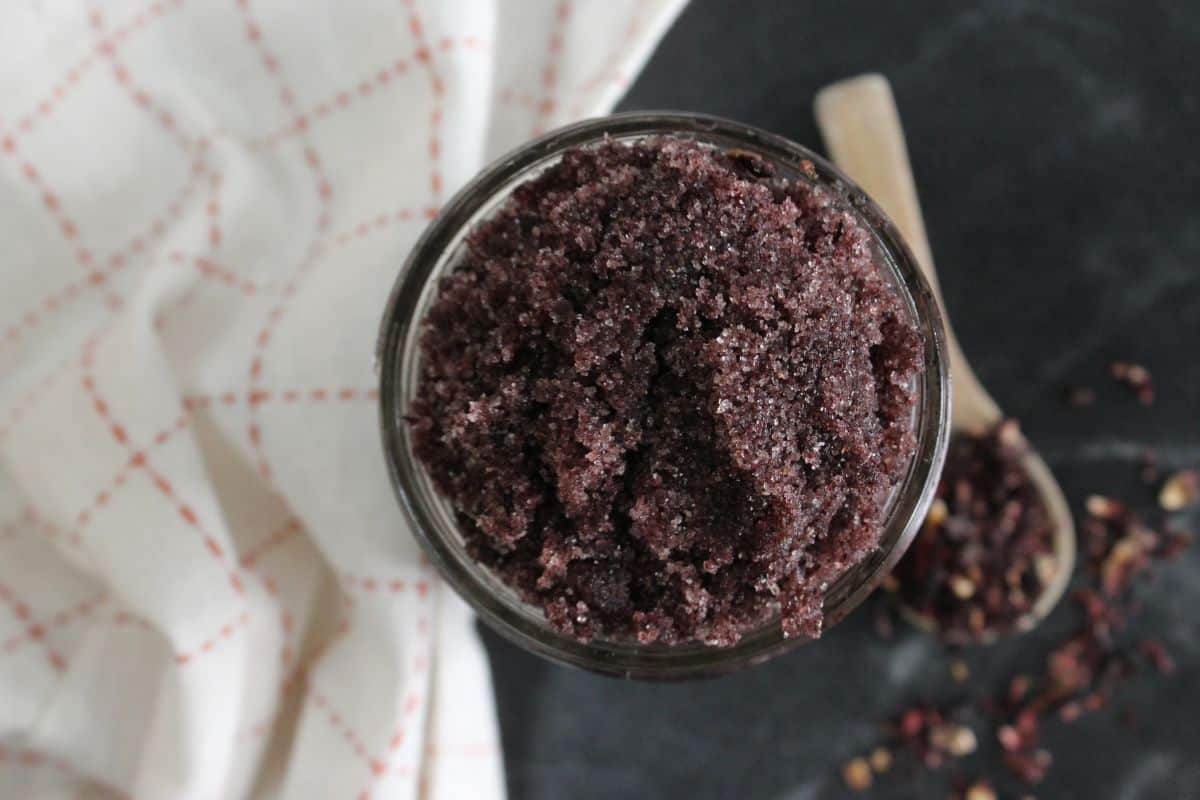
When I craft my own skincare items, I get to decide exactly what goes in each recipe. My foot scrubs are perfect for smoothing out dry, rough patches. Our oregano salve smells amazing and soothes our skin too.
And my tallow balm and beeswax lip balm keep my skin and lips moisturized throughout the day. This hands-on approach lets me adjust each formula so that it fits my family's needs and the needs of others who want to learn how to make their own natural, effective products.
Hair Butter FAQs
Do you have questions about making your own hair butter? Here are some of the most common ones. Leave your question in the comments if you don't see it here.
How long does homemade hair butter last?
Since this hair butter is made with oil-based products and contains no water, it has a longer shelf life than water-based hair conditioners. When stored in a sealed container at room temperature, it can last for about 3-6 months. Adding vitamin E oil can help preserve it even longer.
Can I use different types of butters in this recipe?
Yes. If you don't have shea butter, you can substitute it with mango butter, kokum butter, or avocado butter. Hard butters like cocoa butter may require extra whipping to achieve a soft, creamy texture.
Will this hair butter work for all hair types?
This DIY recipe works best for high porosity hair, dry hair, and coily or curly hair textures. If you have fine hair or low porosity hair, use a lighter oil like sweet almond oil or argan oil to prevent buildup.
This homemade DIY hair butter is an easy way to nourish your hair naturally. Whether you need a deep conditioner, a leave-in treatment, or a frizz-taming cream, this whipped butter provides long-lasting moisture with natural ingredients.


How to Make DIY Hair Butter
Whip up this easy homemade hair butter for soft, moisturized hair. Using natural ingredients like shea butter and jojoba oil, this DIY hair butter recipe is a great way to condition and nourish your locks without synthetic ingredients.
Materials
- ¼ cup shea butter
- 2 tablespoon jojoba oil
- 1 tablespoon coconut oil
- 20-30 drops essential oil (optional)
Tools
- glass measuring cup
- measuring spoons
- double boiler
Instructions
- Combine shea butter, jojoba oil, and coconut oil in a glass jar. Heat in a double broiler until all melted.
- Next, add in your essential oils and mix until combined.
- Let cool down until it is solid, then whip it with a mixer or spoon.
Notes
Store in a cool, dry spot. To use, just put a dab in your hands to warm up, then smooth it through damp hair.