
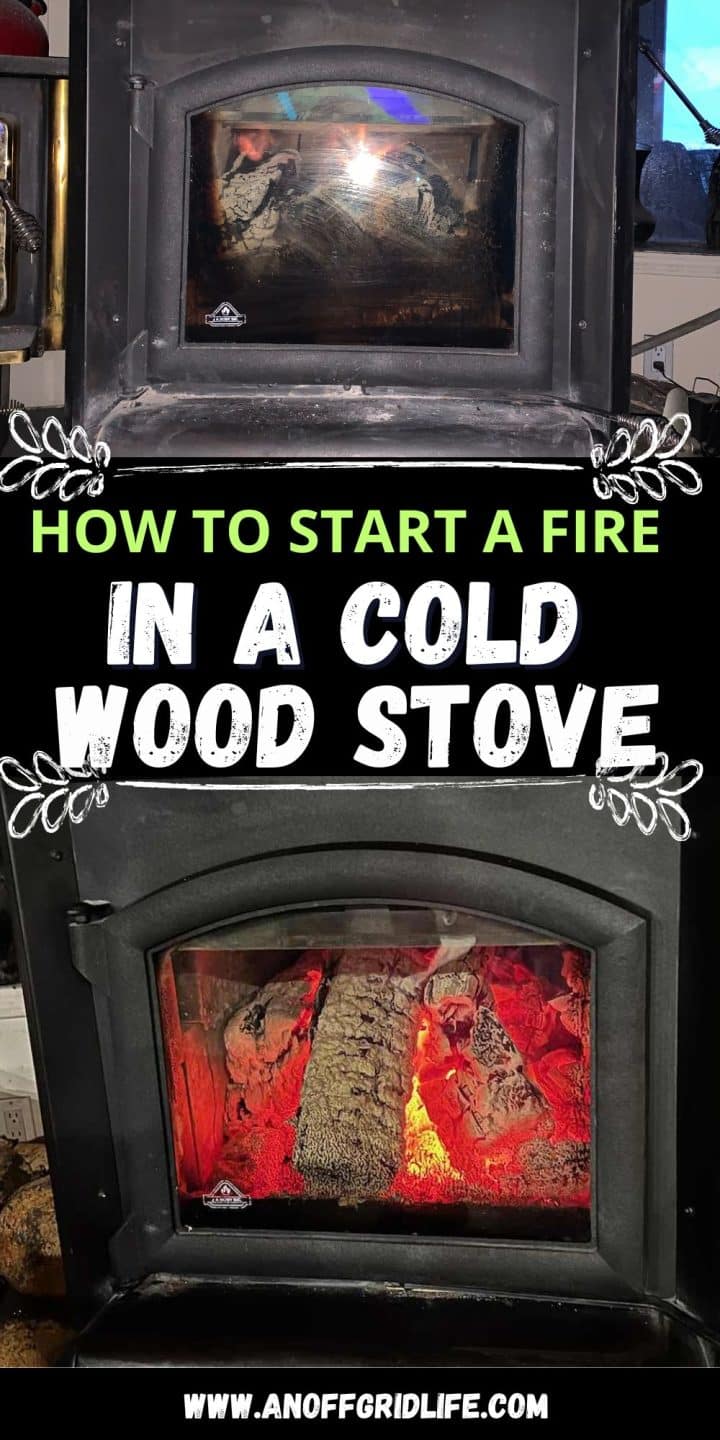
Starting a fire in a wood stove might seem straightforward, but it's a challenge when your stove is icy cold. The draft can fight against you, sending smoke into your room instead of up the chimney. With some knowledge and preparation, you can master the process and keep your home warm even in the coldest conditions.
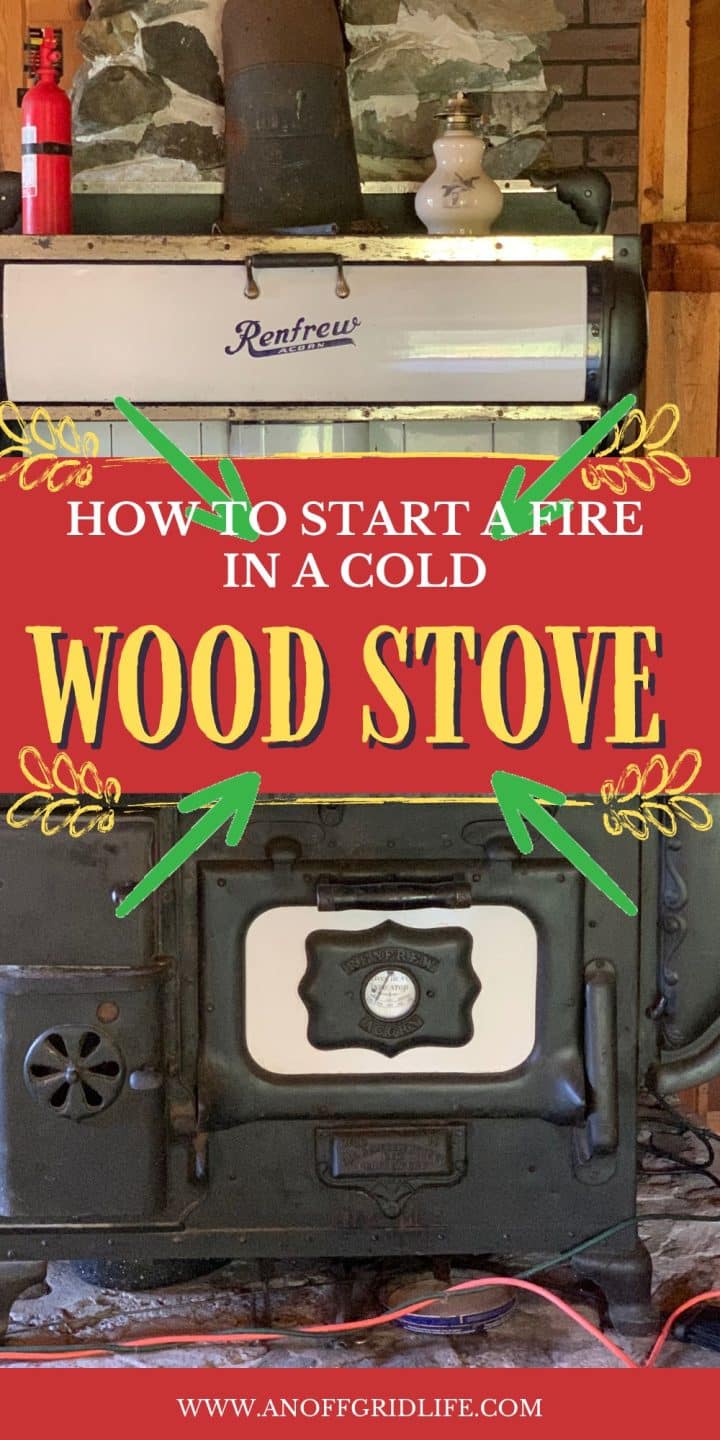
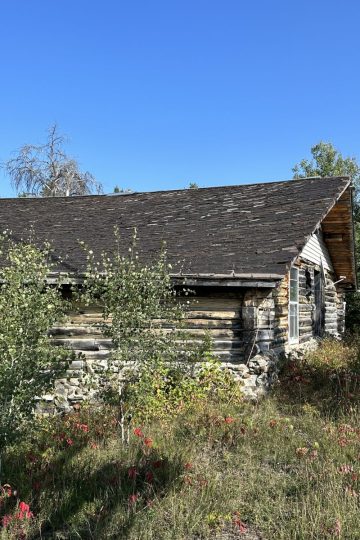
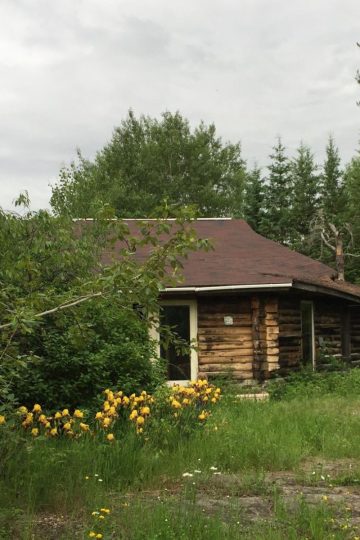
At our off grid home in the Northwest Territories, our wood stove is our main heat source, supplemented by in-floor heating powered by a propane boiler. However, at our cabin in northern Ontario, wood stoves (one is a 1911 antique wood stove) are our only heat source. So it's especially important to me that all our family members know how to start a fire in a cold wood stove.
Over the past eleven years, we've learned the most effective techniques for starting a fire in a cold wood stove. Even when the temperatures drop below freezing.
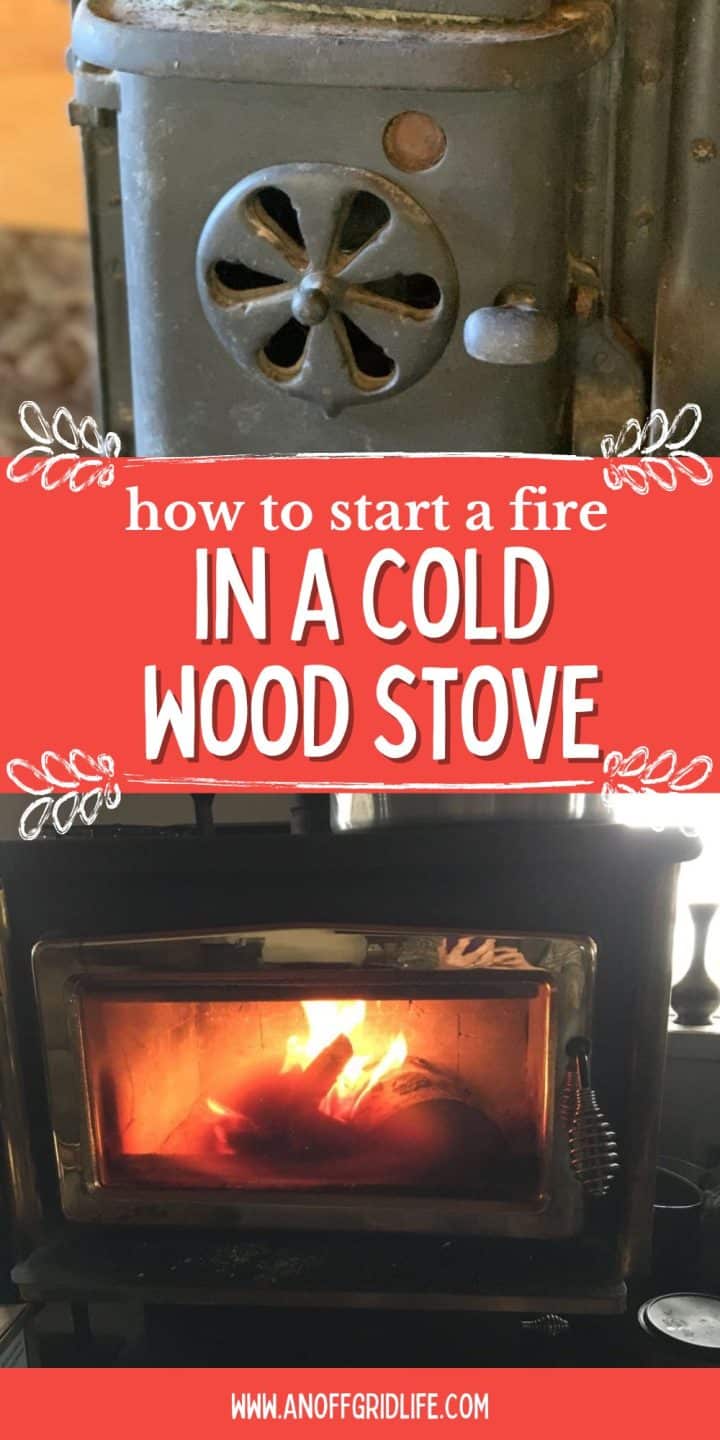
In fact, last December, we returned home to the Northwest Territories at the tail end of a -40C/F week. It was a challenge, but we got the wood stove fired up and had the house warm in no time.
Understanding the Basics of Airflow and Draft
Before lighting your wood stove, you need to understand how airflow and draft work. When your stove and chimney are cold, the air pressure can reverse. This prevents smoke and gases from escaping.
This phenomenon, called backdraft, can make starting a fire in freezing conditions frustrating, especially when your fingers are cold. And it can make things very, very smoky.
The key is creating a positive draft, where warm air rises up the chimney, drawing fresh oxygen into the firebox. Without enough oxygen, your fire won't burn efficiently, leading to more smoke and less heat. By preparing your stove and chimney properly, you can overcome these challenges.
Preparing Your Stove and Choosing Firewood
Successfully starting a fire in a wood stove requires a bit of prep work. But trust me, it makes a big difference. And doing so safely is an important part of indoor fire prevention.
Leave a Bed of Ash
If you can, leave a thin layer of ash at the bottom of your wood stove when you let a fire die out. This can improve heat retention and insulation.
Ash helps maintain higher combustion temperatures, making it easier to light your fire. So avoid removing all the ash after each burn-leave about an inch for optimal results.
Choose Dry, Seasoned Firewood
Firewood with a moisture content below 20% burns hotter and produces less smoke. Wet wood struggles to ignite and generates creosote, a sticky residue that can clog your chimney and increase the risk of chimney fires.
Use a moisture meter to check your logs. Try to stick to seasoned hardwoods like oak, maple, or birch for the best results. Sometimes, that's hard.
I wrote about this several years ago. When we first moved off the grid to the Canadian subarctic, I hadn't thought about the fact that the trees are well, not great for firewood. They're thin and spindly.
The first few years, Dan and his friends went out to a burn area, gathered firewood and hauled it back. It's a TON of work, as we usually burn ten cords a winter.
Now, we get our firewood from a sawmill down in Hay River.
For more information on choosing firewood, see the University of Missouri Extension's guide on heating with wood.
Check the Flu
Because we split our time between homes, we're always careful to check the flues for birds' nests, debris, etc., before lighting our first fire. So, if you are visiting a hunting cabin, camp, cottage, etc. that doesn't get a lot of use, make sure to check things out carefully BEFORE lighting that first fire.
Gathering Materials for Starting Your Fire
To start a fire effectively, make sure you have all your supplies on hand. To start, gather the following materials:
- Kindling: Small, dry sticks or cedar shavings.
- Tinder: Newspaper, toilet paper, or natural fire starters like birch bark.
- Fuel: Logs of various sizes, starting with small pieces and working up to larger ones.
- Tools: A hatchet for splitting wood, matches or a lighter, and a pair of fireproof gloves.
Using the right materials ensures your fire catches quickly and burns efficiently. You could try making your own fire starters LINK like we do. Keep a good supply on hand.
Building Your Fire for Maximum Heat
There are several methods to arrange your firewood for optimal heat generation. Here are three effective approaches.
The Tee-Pee Method
This classic method involves arranging your kindling in a cone or tee-pee shape around your tinder. Light the tinder. Then, as the fire grows, add larger pieces of wood. The shape allows air to circulate freely, feeding the flames.
The Log Cabin Method
Create a square base with two large logs, then place smaller logs perpendicularly on top. Add your tinder and kindling in the center. This method provides a stable structure and promotes steady airflow.
The Top-Down Method
Start with large logs at the bottom, medium logs in the middle, and kindling on top. Light the fire from the top, allowing the flames to work their way down. This method minimizes smoke and promotes a strong draft from the beginning.
Warming Up Your Flue
Cold air in the chimney can cause backdraft, preventing smoke from escaping. To counteract this, warm your flue before lighting the fire. Roll up a sheet of newspaper, light it, and hold it near the flue opening inside the stove. This creates an updraft, ensuring proper airflow.
Warming the flue is particularly important in frigid climates like ours in the Northwest Territories, where temperatures often plummet well below freezing.
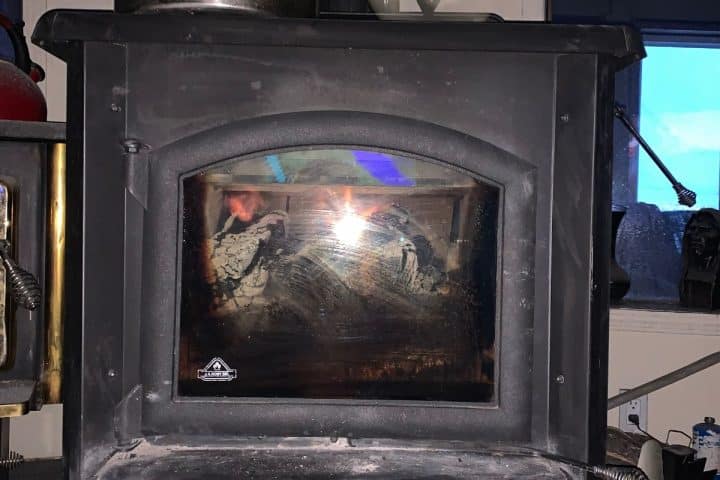
Lighting the Fire: Step-by-Step
Take the time to work through these steps. Trust me, it makes a difference.
- Prepare the Stove: Leave the door slightly open for a few minutes to allow warm air into the firebox.
- Arrange the Wood: Choose your preferred method (tee-pee, log cabin, or top-down) and stack the wood and kindling accordingly.
- Light the Tinder: Use matches or a lighter to ignite your tinder. Allow the flames to spread to the kindling.
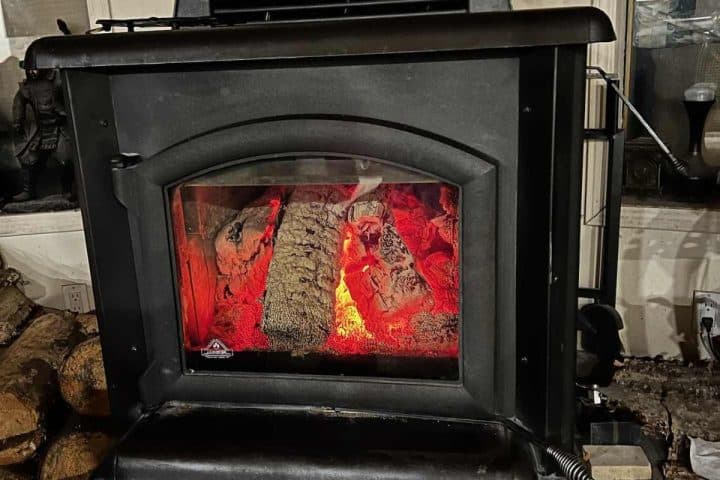
- Monitor the Fire: Gradually add larger logs as the fire grows. Avoid smothering the flames by overcrowding the firebox.
- Adjust the flow: Use the stove's air vents to control the oxygen supply. Open the vents fully when starting the fire, then adjust as needed for a steady burn.
Troubleshooting Common Problems
If your fire won't start or keeps going out, chances are it's one of these three things. Try each, and eventually, your wood stove fire will get lit, and stay lit.
- Wet Wood: Replace damp logs with dry, seasoned firewood.
- Poor Draft: Warm the flue again and check for blockages in the chimney.
- Insufficient Kindling: Add more small sticks or shavings to help the fire catch.
Plan and Prep Before Lighting a Fire in a Wood Stove
Knowing how to start a fire in a wood stove is a valuable skill, especially for people like us who rely on wood heat in cold climates. Preparation and patience are key, from choosing the right firewood to strategically arranging your logs and kindling.
Whether you use the tee-pee, log cabin, or top-down method, understanding your stove's airflow and warming the flue can make the process smoother. These techniques have become second nature at our off-grid home in Canada's far north and our northern Ontario cabin, keeping us warm even on the coldest days.
For more tips on self-reliance and off-grid living, explore the 400+ articles on An Off Grid Life.
FAQs About Starting a Fire in a Cold Wood Stove
Do you have questions about starting a fire in a cold wood stove? Here are some of the most common. If you don't see yours, go ahead and leave it in the comments and I will do my best to answer it.
Can you start a fire with cold wood?
Yes, but it's harder. Use dry kindling and gradually introduce cold logs once the fire is established.
How do you heat a cold flue?
Warm the flue with a lit newspaper or firelighter before lighting your fire. Dan will use a torch sometimes too.
What is the most efficient way to start a fire in a wood stove?
The top-down method is highly efficient. And it minimizes smoke.
Like this post? Save it, share it, and read it!
Thankyou for sharing your experience. Just got a wood-burner and will try out your tips.